If I told you that making homemade thin crust pizza dough could take under 90 minutes to make, would you try it?? I make this pizza dough a lot, and we can't get enough of it. It's simple, effortless and such an impressive crunch. Paired with smoked salmon, or any kind of smoked fish you might have, with all the goodies on top, becomes an easy and delicious meal any day of the week.
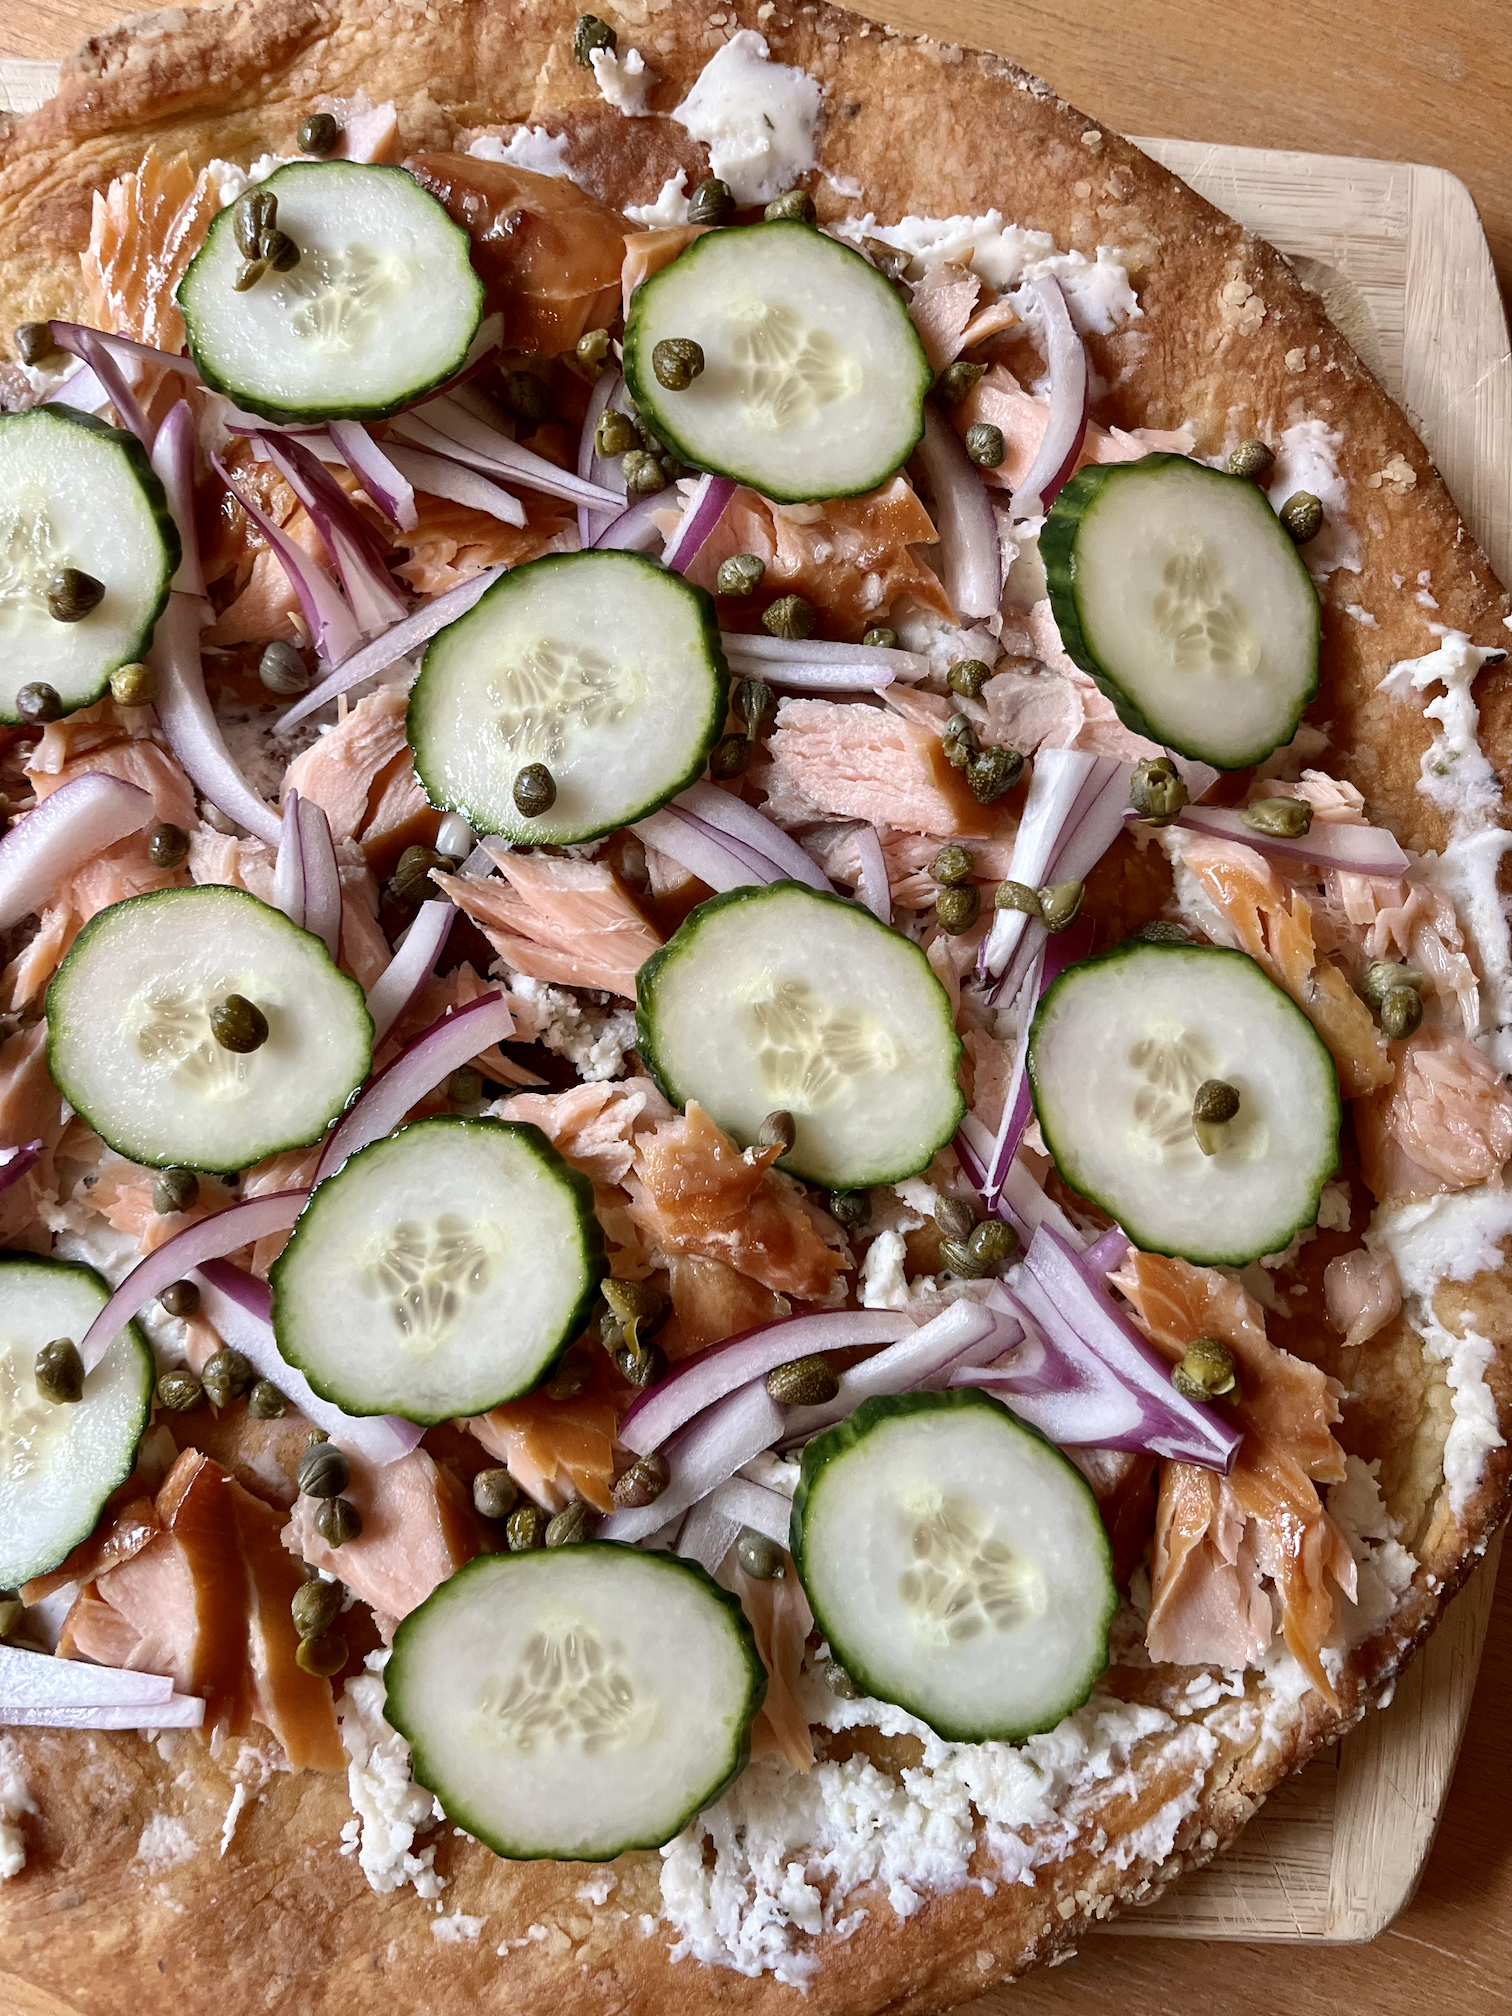
How to Make a Perfect Pizza in Under 90 Minutes
If you like thin crust pizza, this is for you. If you like thin crust pizza but don't feel like making it from scratch, then by all means skip through this part and grab a pre-made pizza dough at the store - you do you!
Step 1: Assemble the Tools and Ingredients
To make this pizza, you'll want to have the following tools:

Next you'll want to have all your ingredients ready:
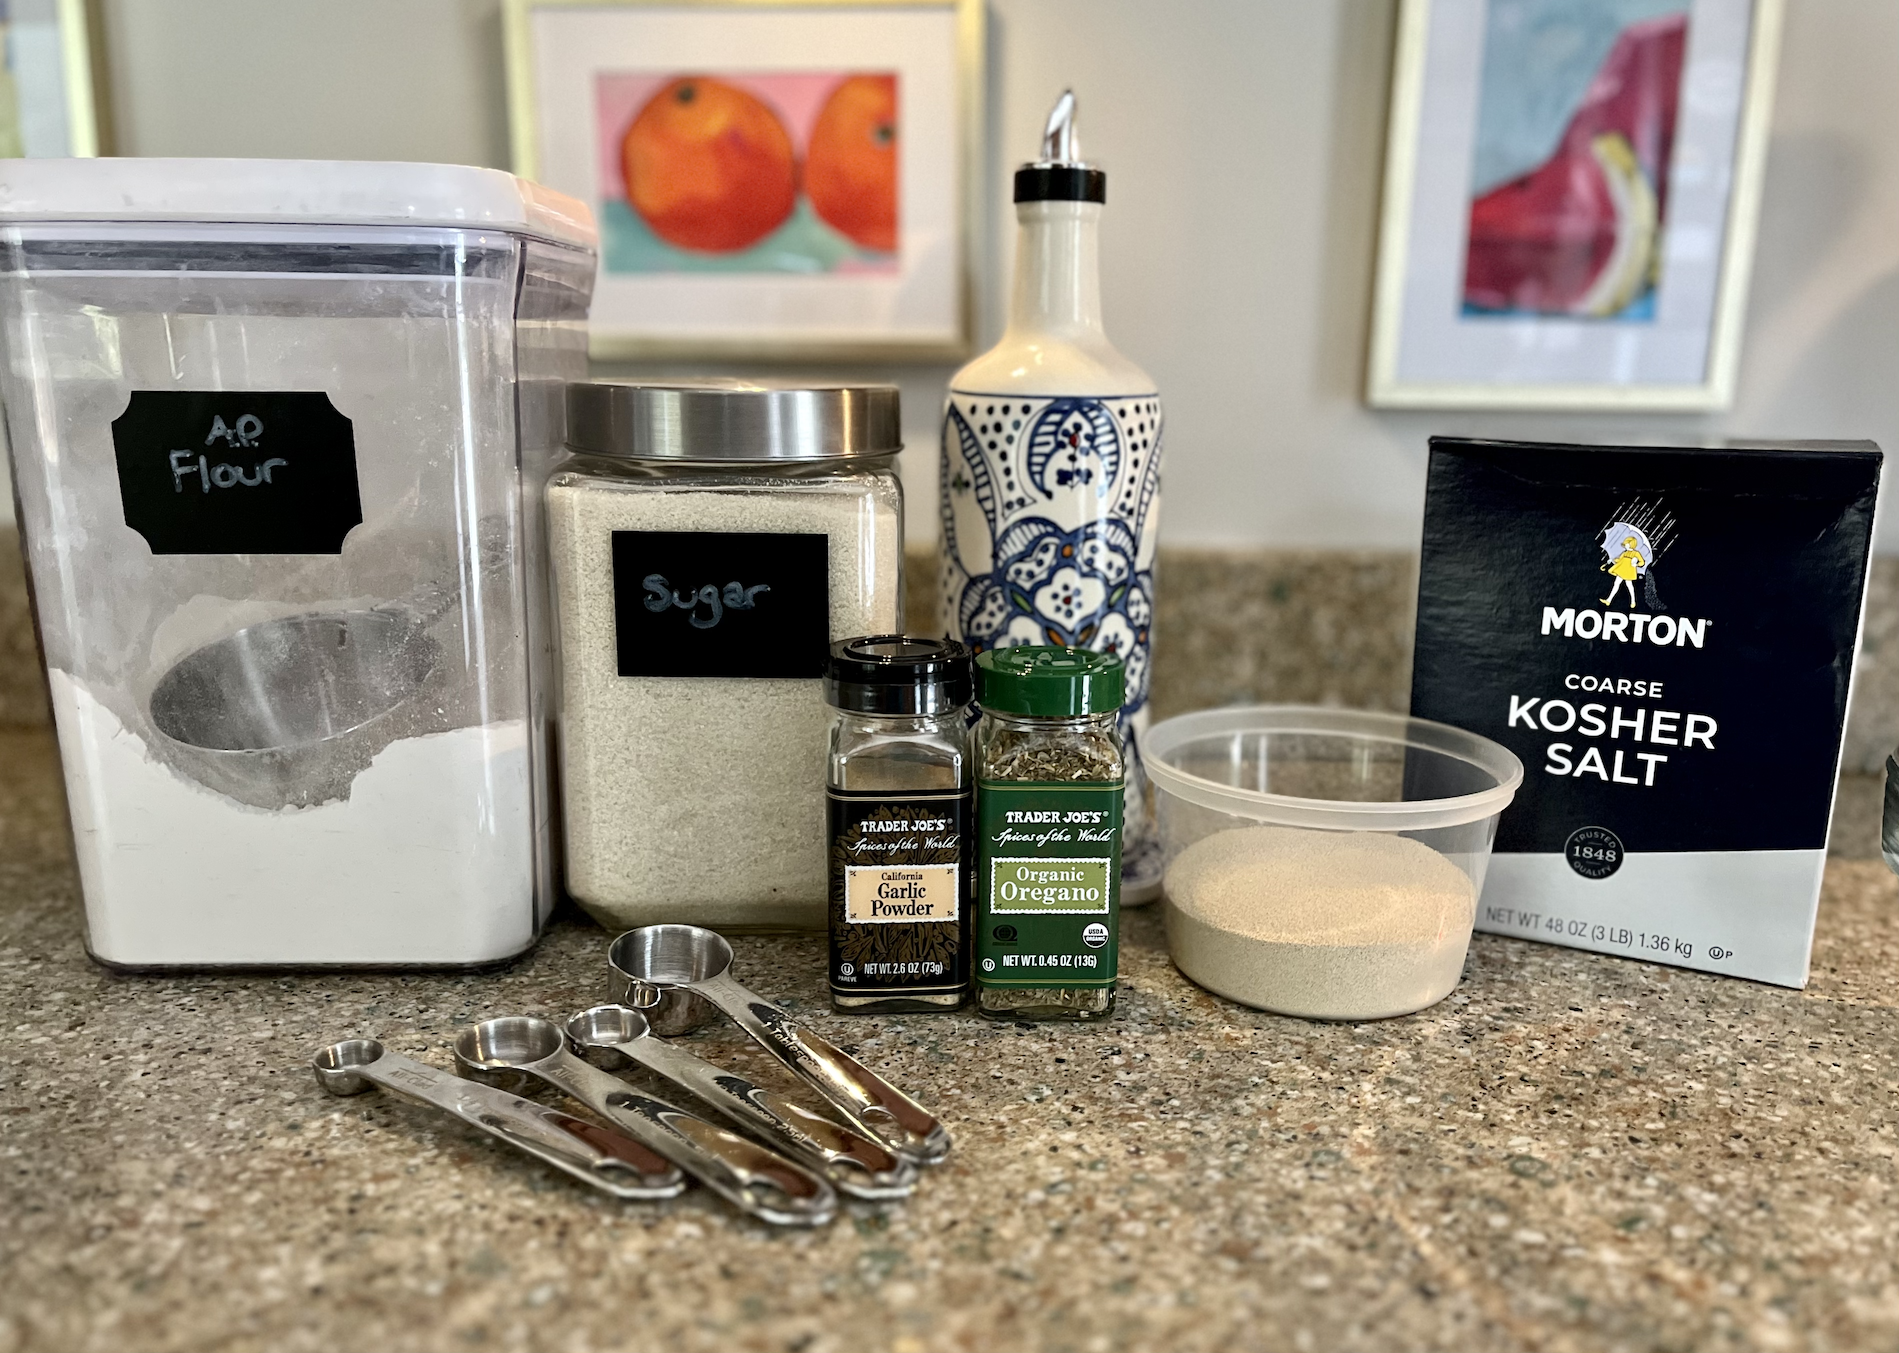
Step 2: Mix together all the dry ingredients.
In a large glass bowl, start by measuring out 1 cup of flour, 2.25 tsp instant yeast, 1.5 tsp sugar, 3/4 tsp kosher salt, 1/2 tsp garlic powder and a 1/2 tsp dried oregano. Gently stir it all together using the rubber spatula.


Step 3: Stir in the wet ingredients.
First start by making a little bowl in the middle of the flour mixture, then pour 2 tablespoons of olive oil in. Gently combine the flour with the oil. Next, measure out 3/4 cup of warm water, pouring into the middle of the flour mixture. Again, gently fold the flour and water together.
The mixture will be too wet at this point, so add more flour to the mixture until you end up with a ball of dough like you see in the third photo below. I usually end up adding another 1/3 of flour to the mix before it's perfect.
The less stirring you do, the fluffier and better your pizza crust will be.


Step 4: Transfer the dough to an oiled bowl and cover tightly with saran wrap.
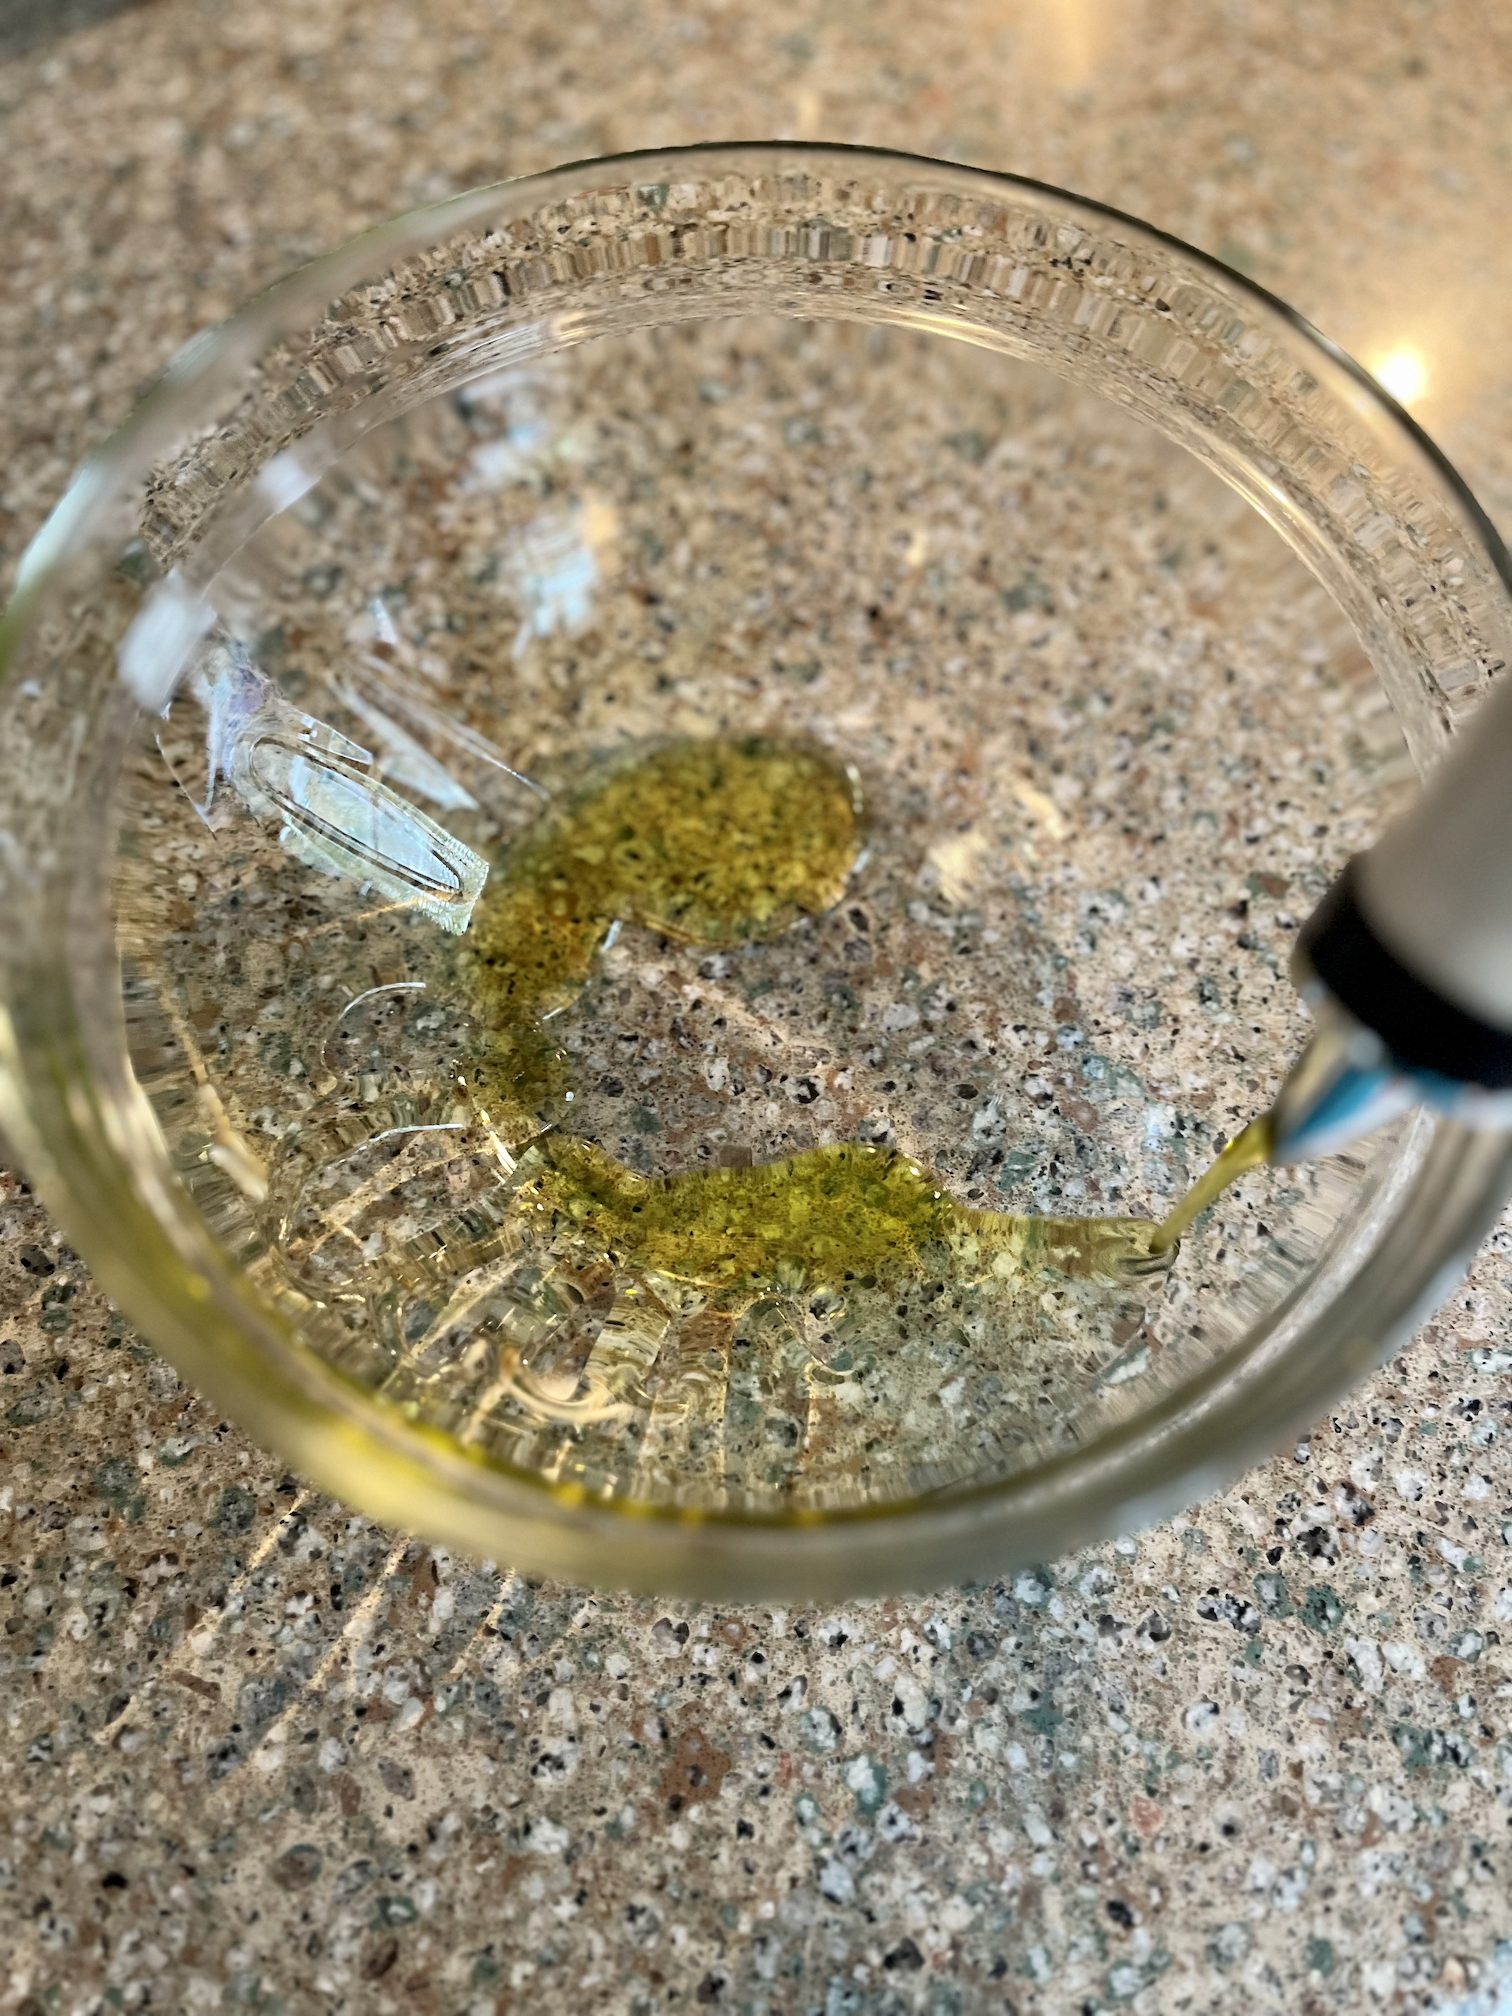
In a second glass bowl, pour olive oil around the edges of the bowl and let it drip down the sides into the middle of the bowl. Once you put your dough ball in the bowl, turn the dough over a few times to let it get slick with olive oil before covering with the saran wrap.
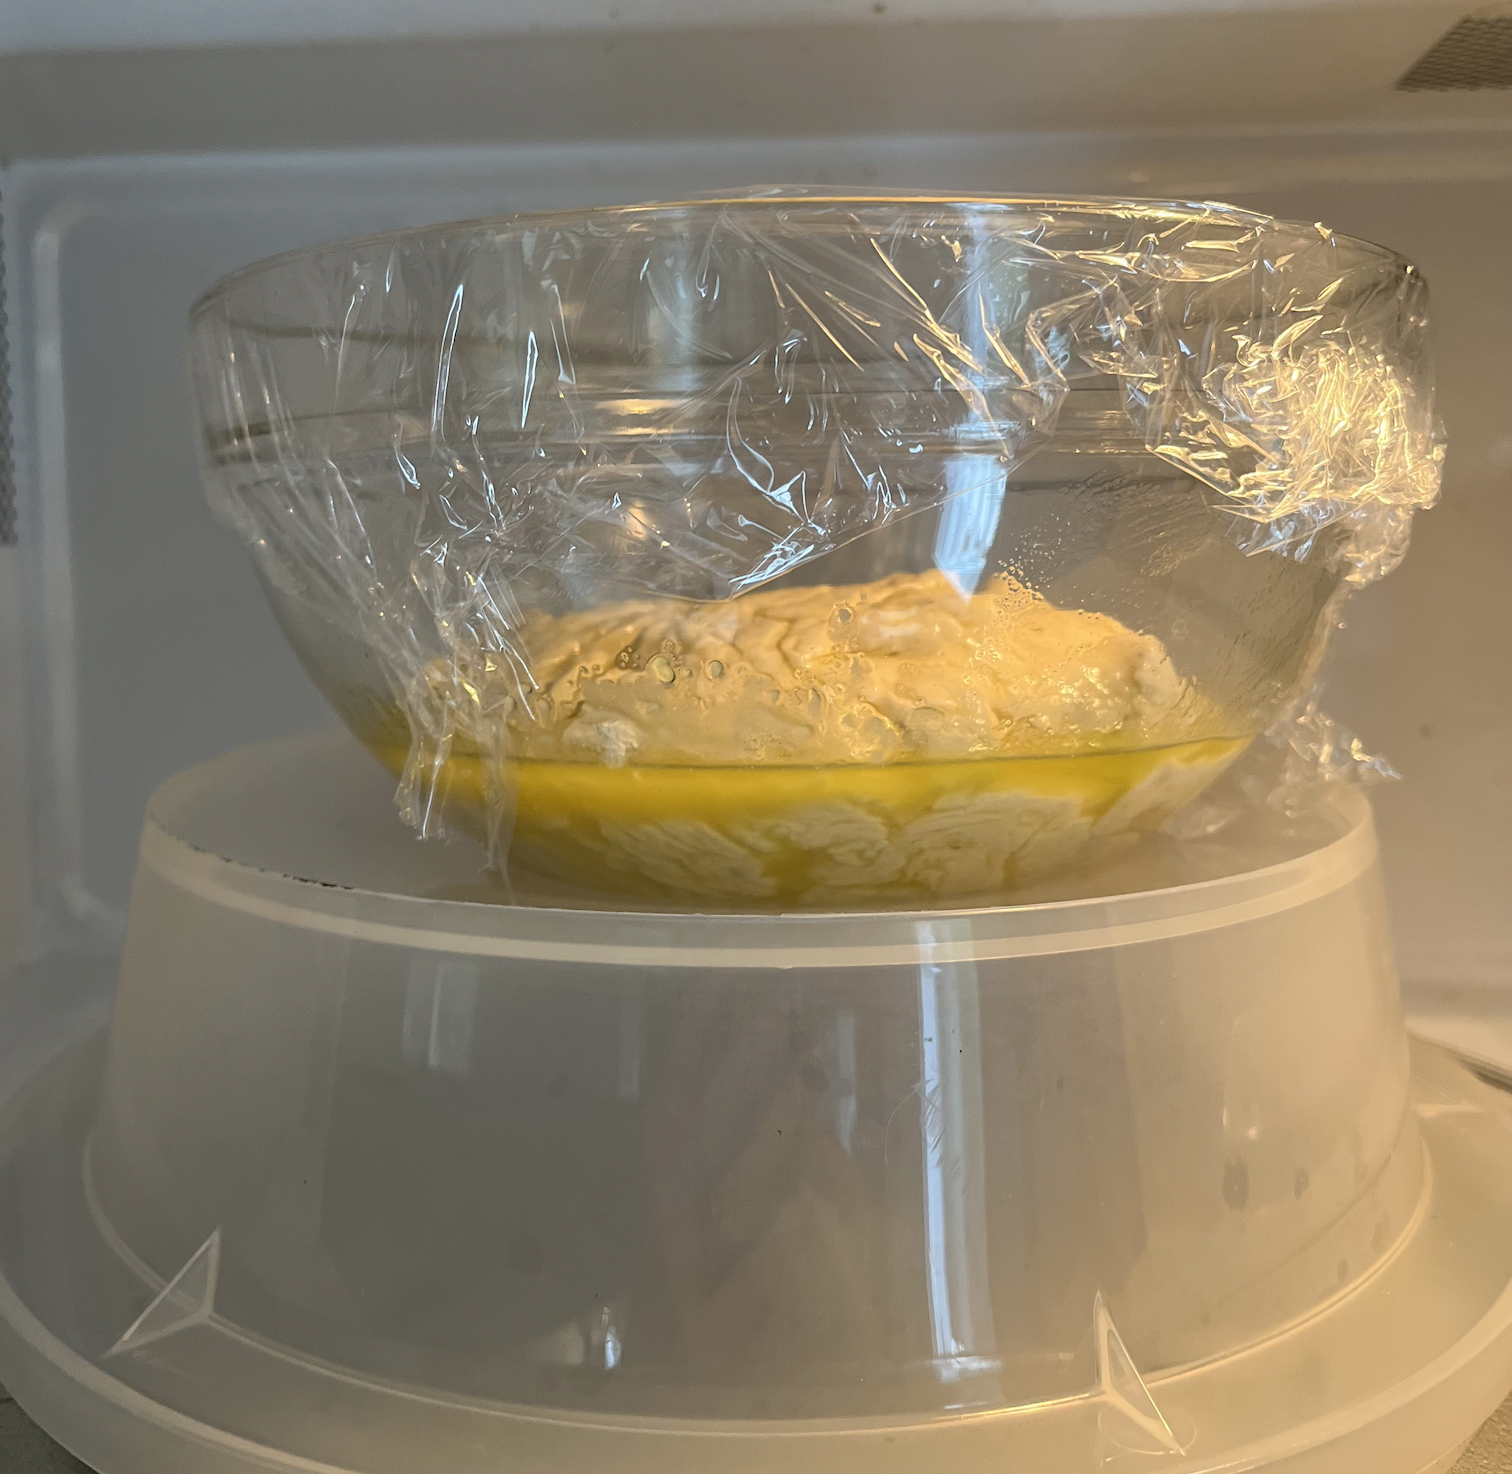
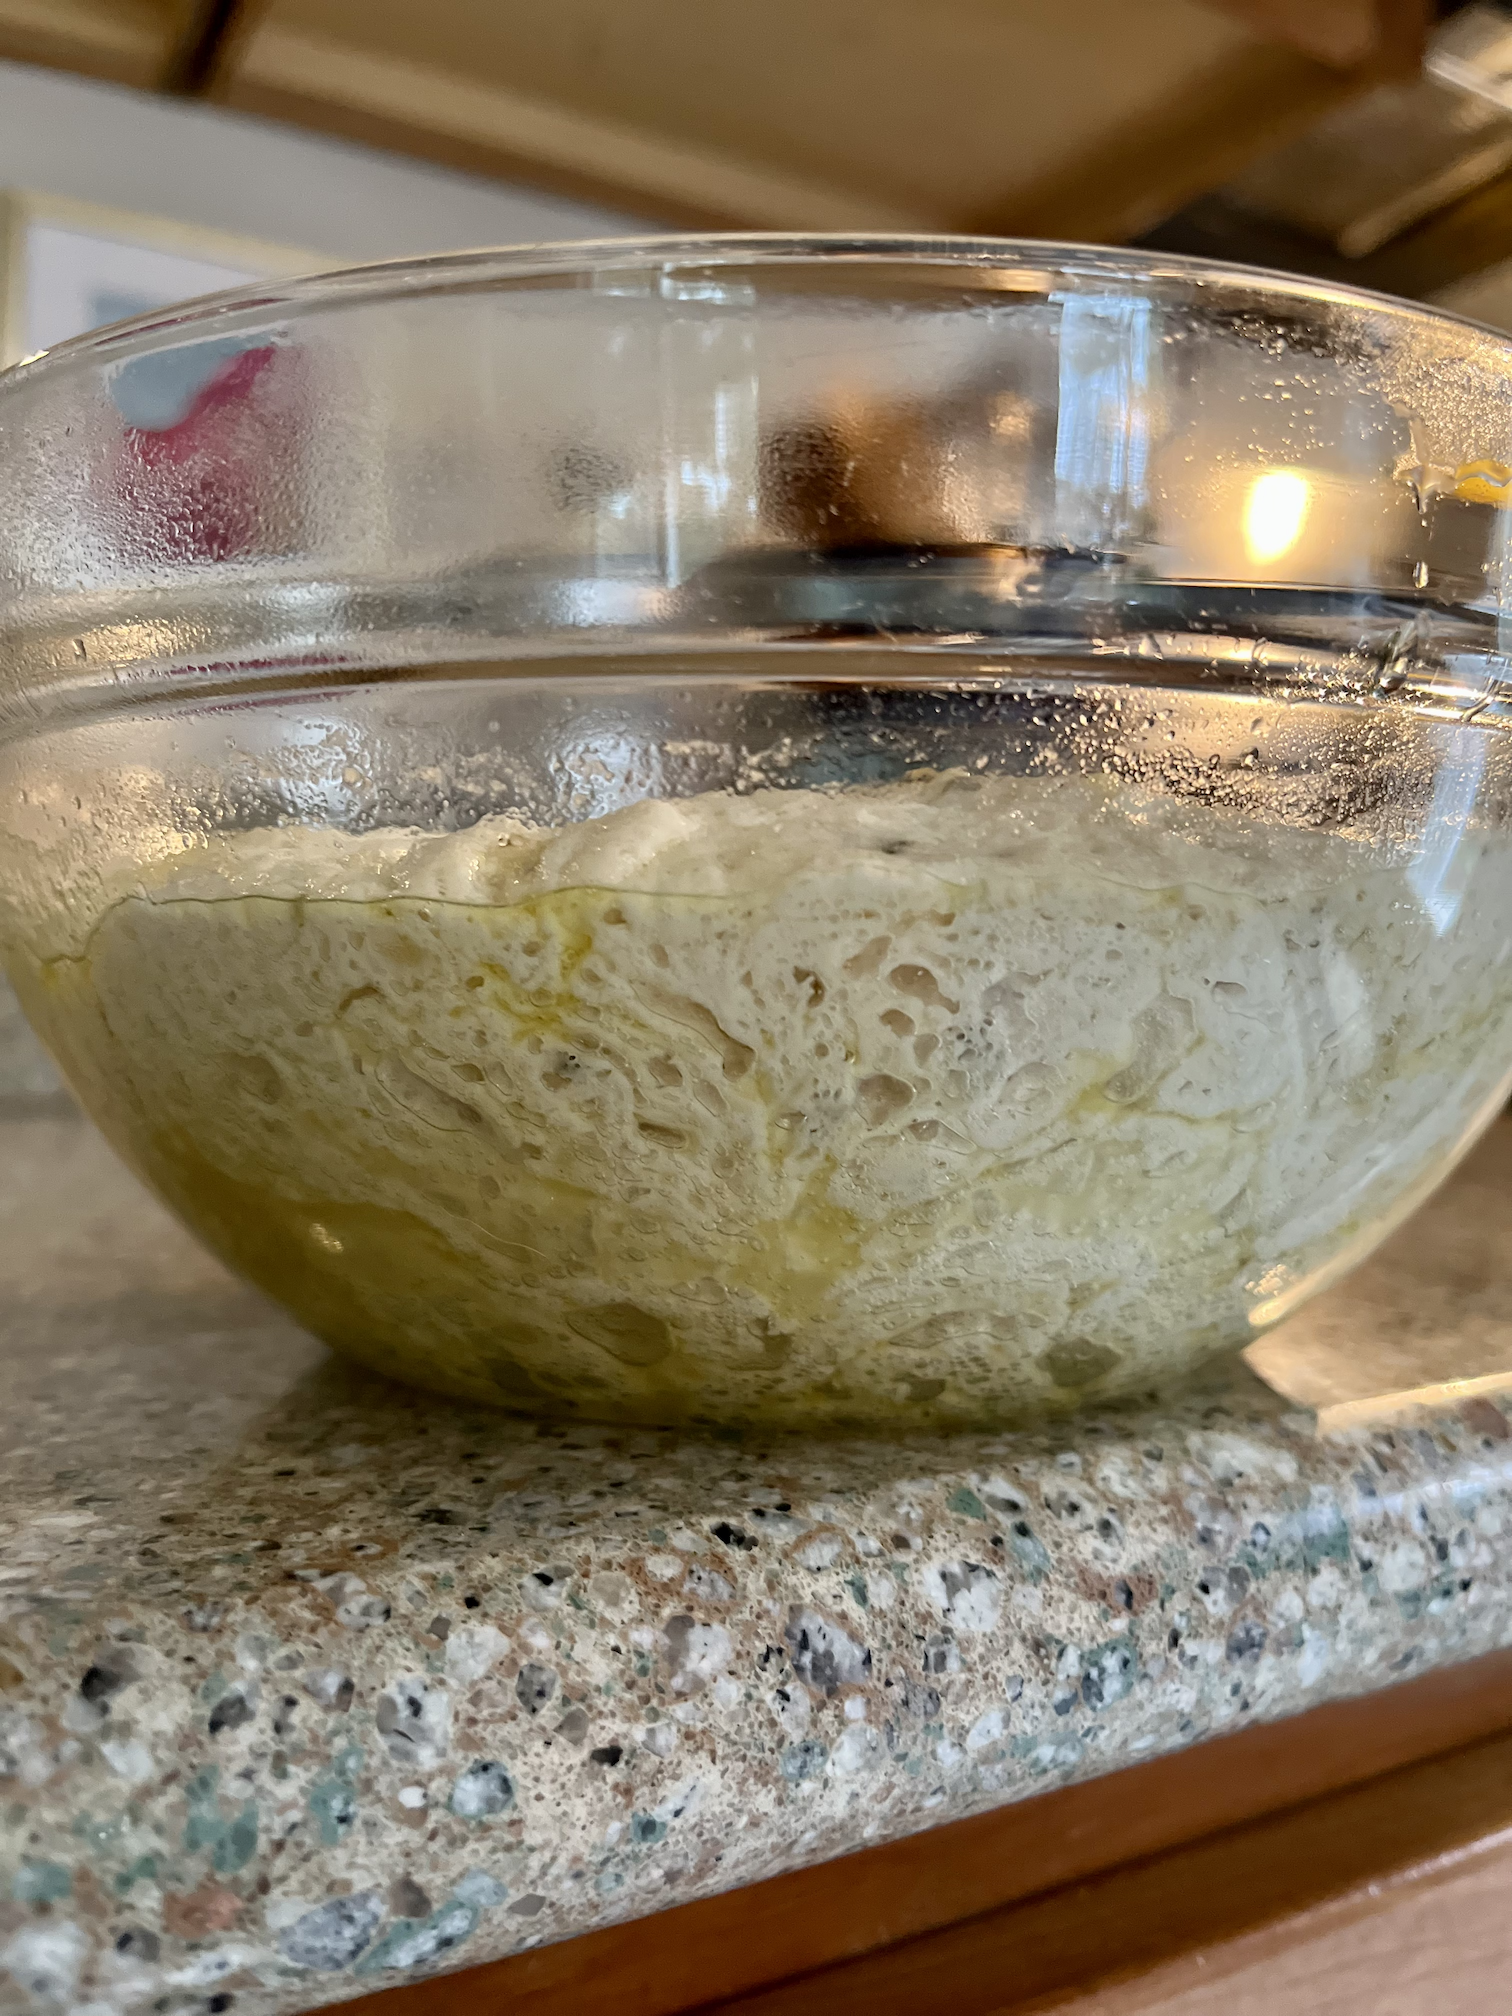
After 30 minutes, it SHOULD look like the photo on the right, however sometimes it may take longer for it to fully rise, and you can keep it out to rise for as long as 2 hours if you'd like. With instant yeast, sugar and warm water however, that makes the process a lot quicker, so ideally you want to see the rise in about 30-45 minutes.
I like to let the bowl sit in the microwave to rise, because it is slightly warmer than letting it stay on the counter. Some bakers might scoff at that, but I'm not a baker, I'm just doing my best!
Step 5: Roll out your dough and get it into the oven.
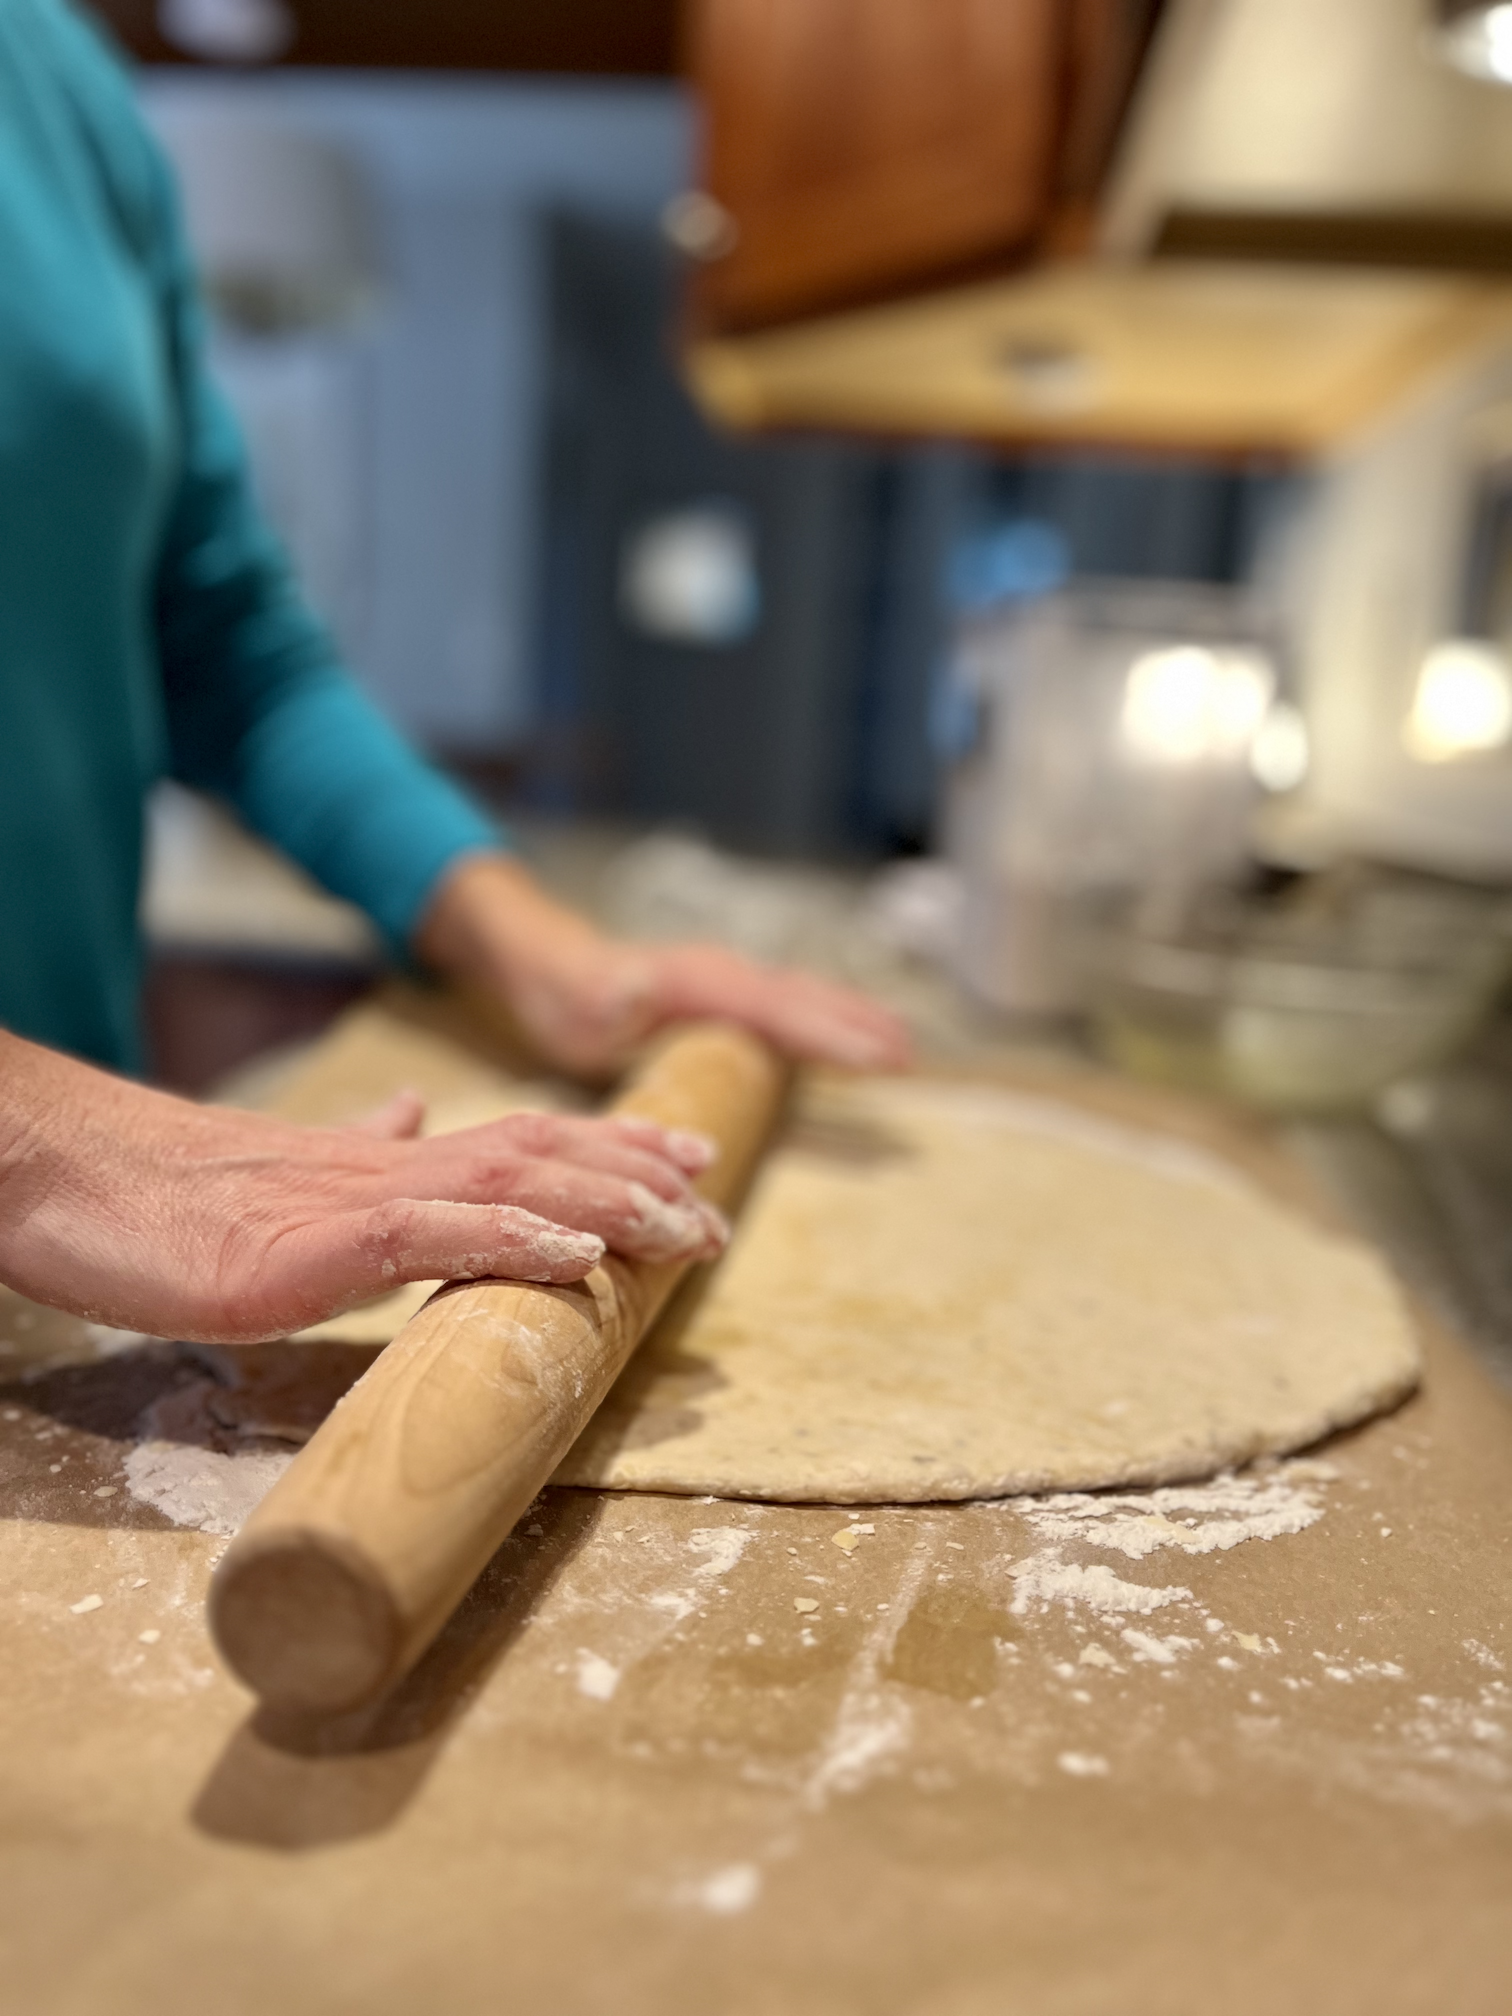
Lay our parchment paper on your counter for less cleanup later, or just go right on a clean countertop. Sprinkle some flour on the counter/paper and flour your hands, rolling pin and the dough itself once it's on the counter.
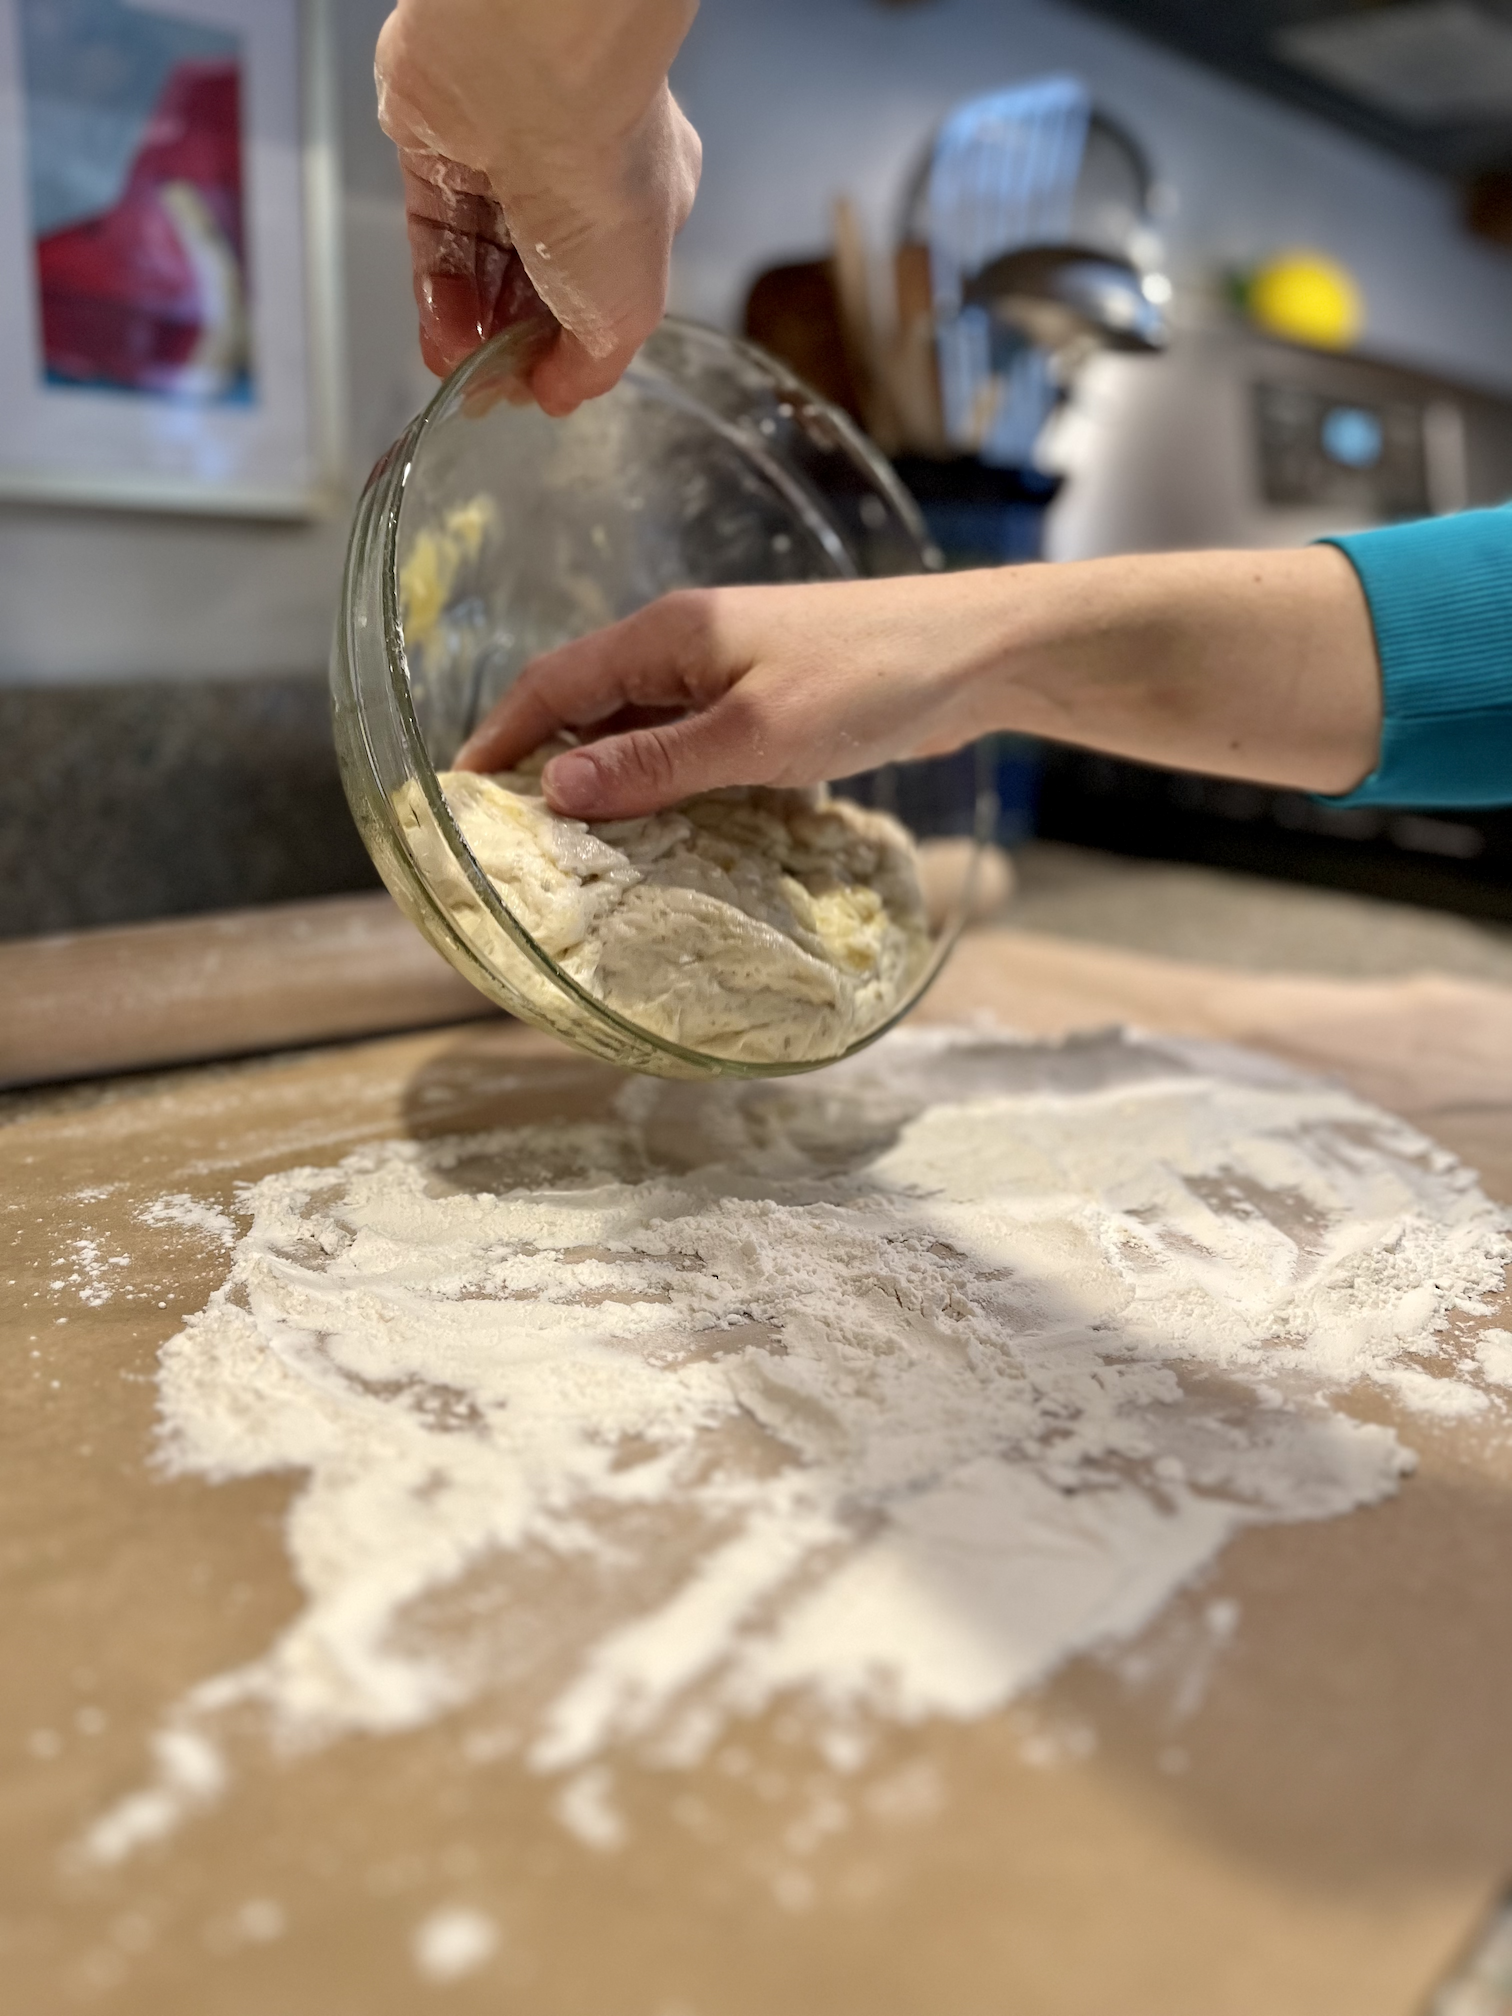
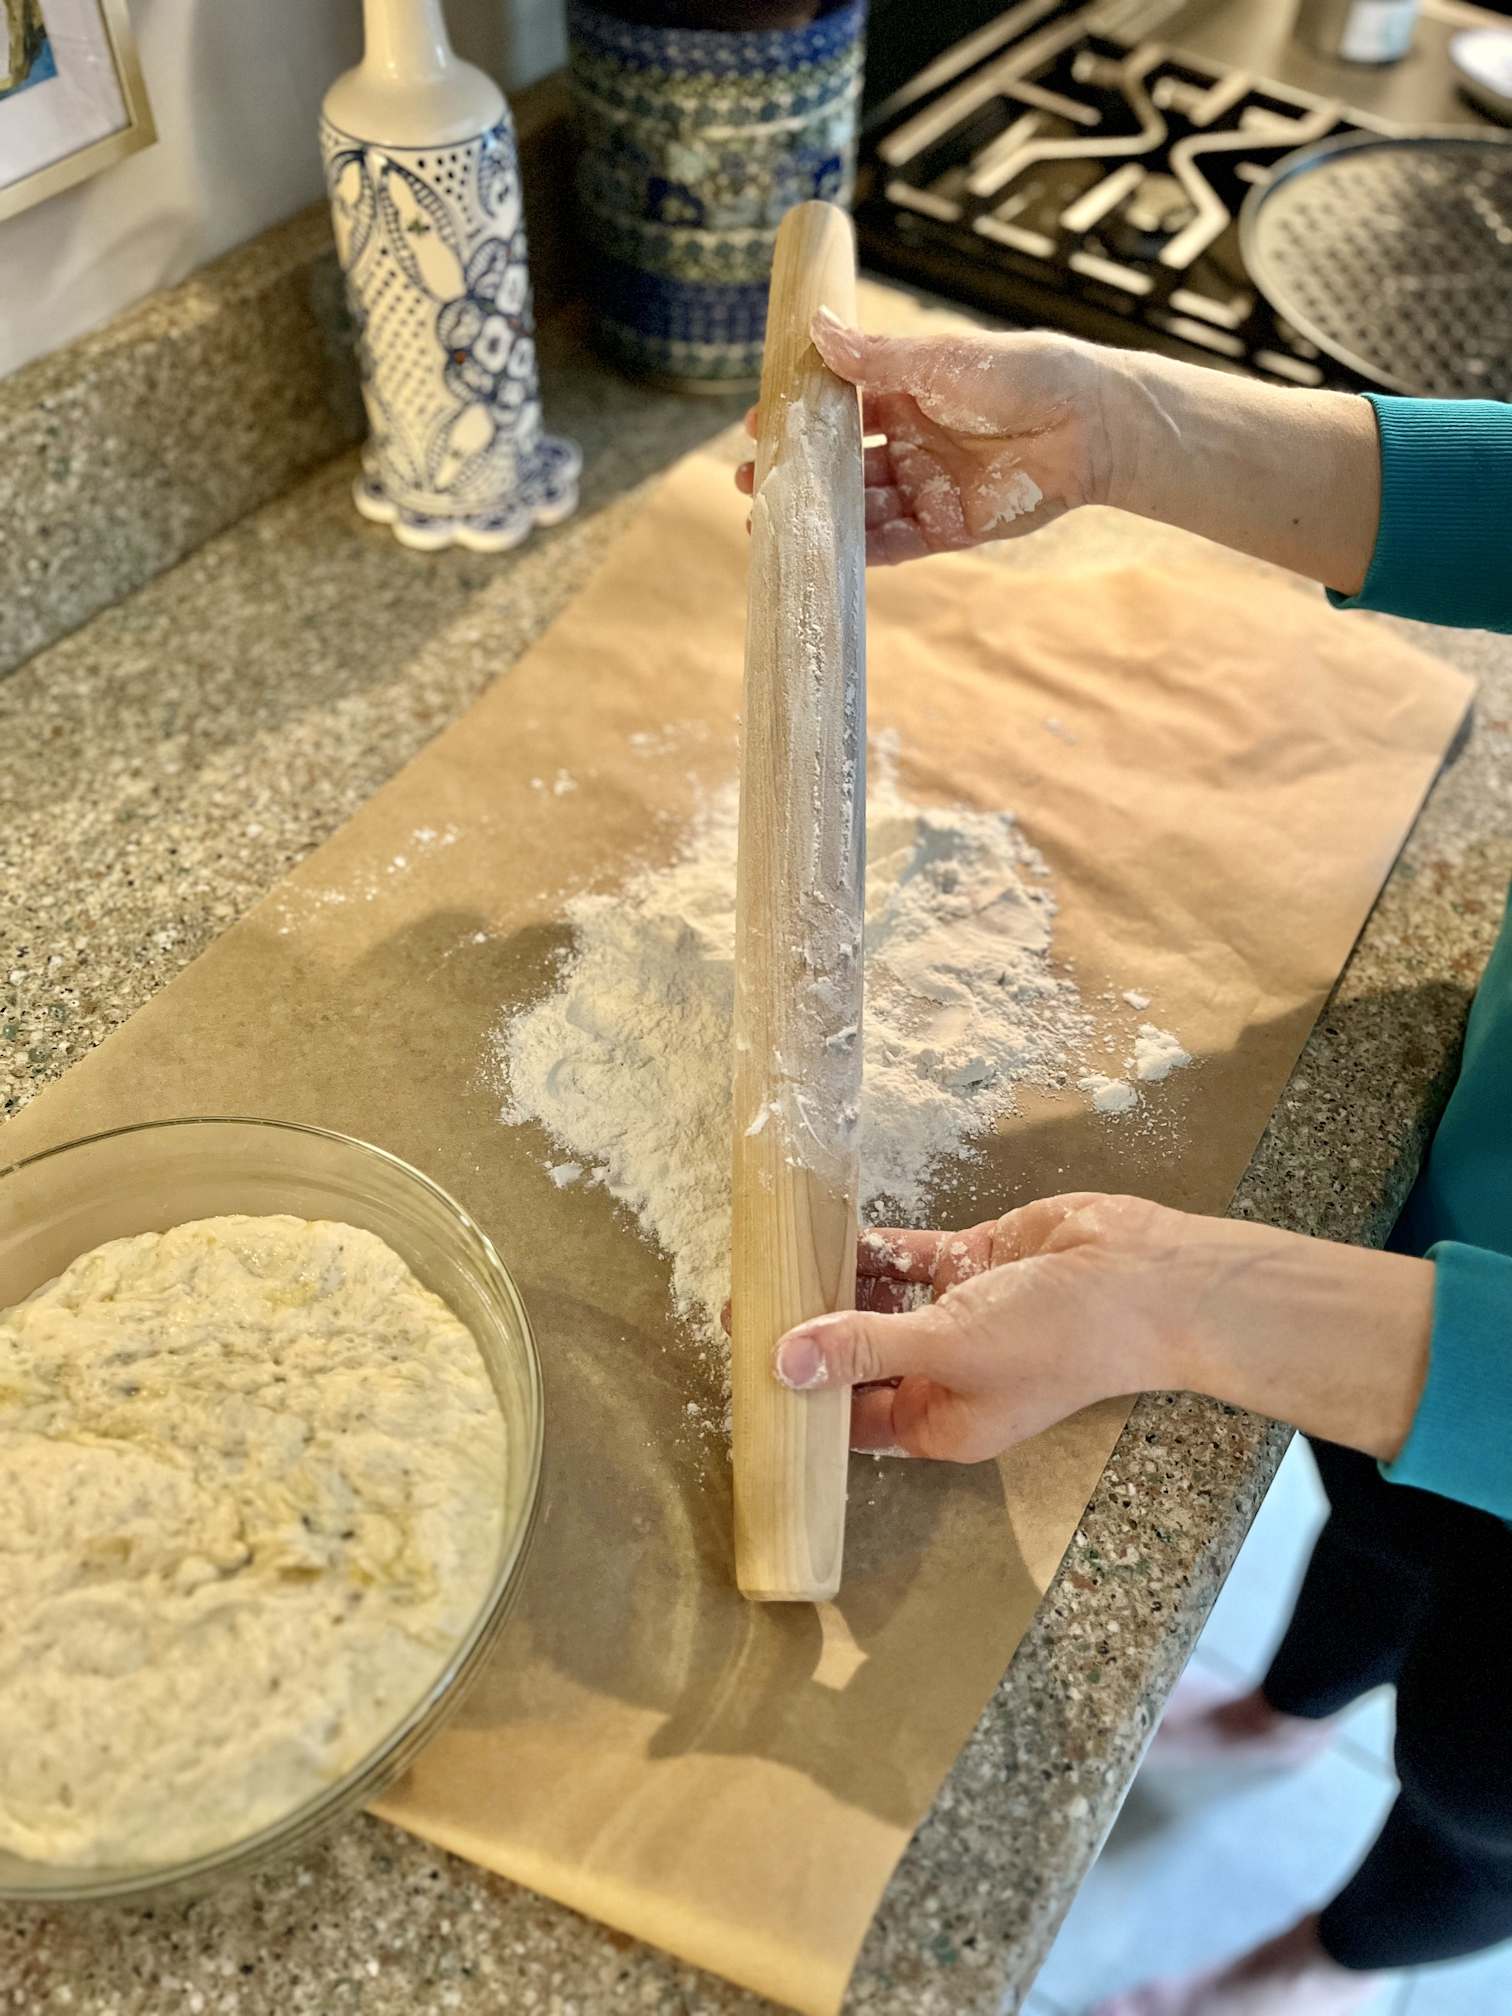
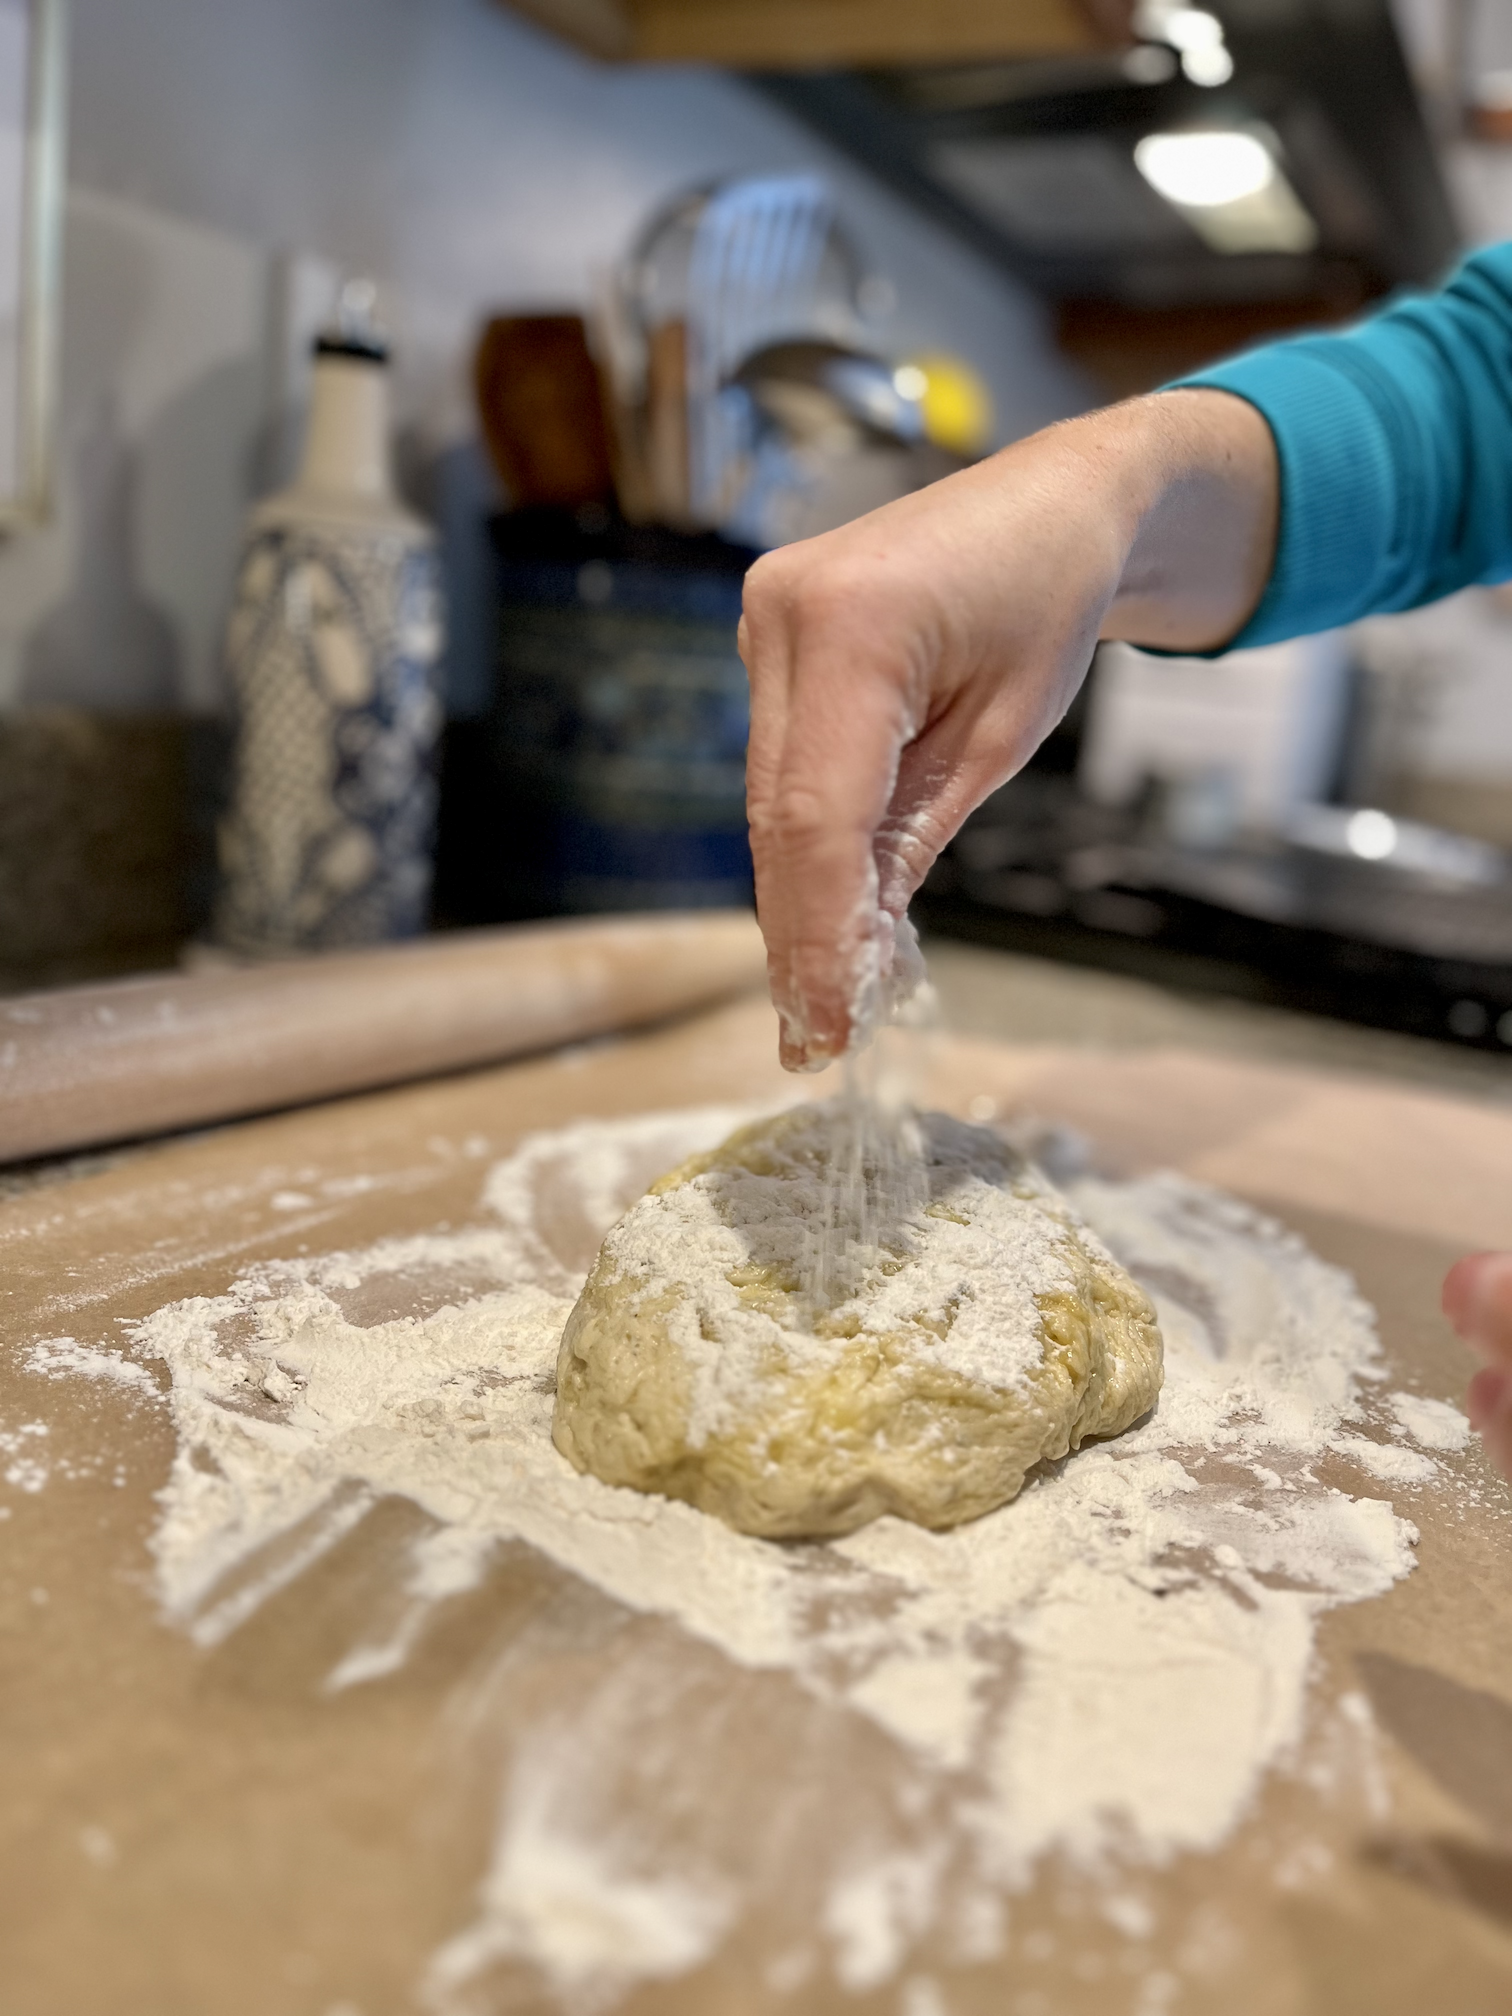
This is a no-knead recipe, so from here you just carefully roll it out, making sure to keep the thickness even throughout.
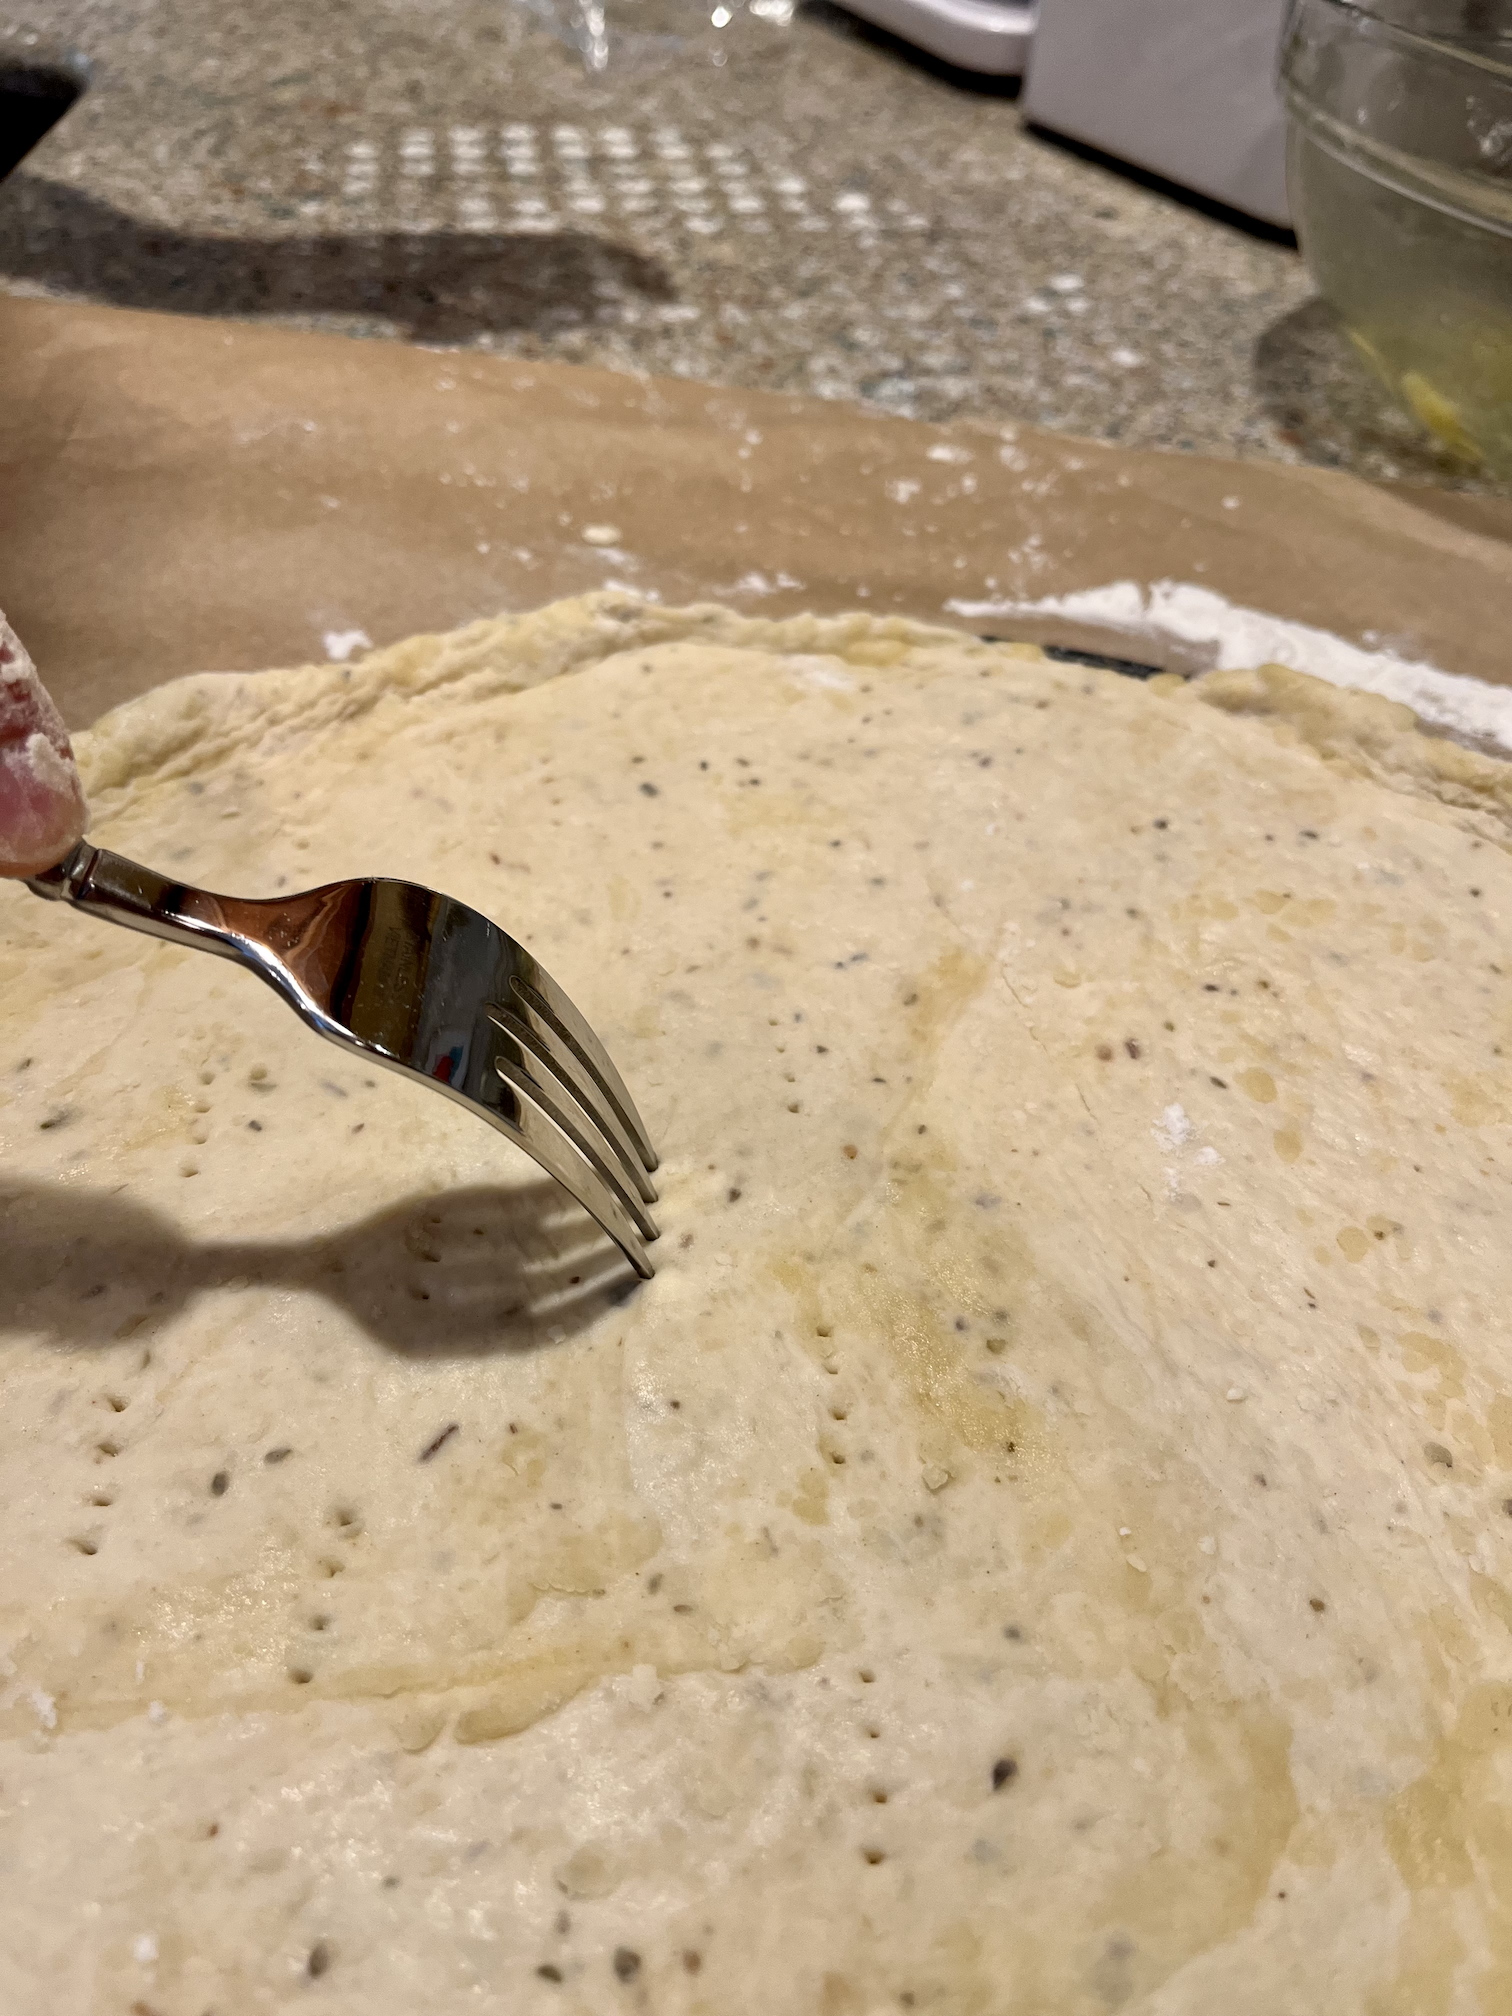
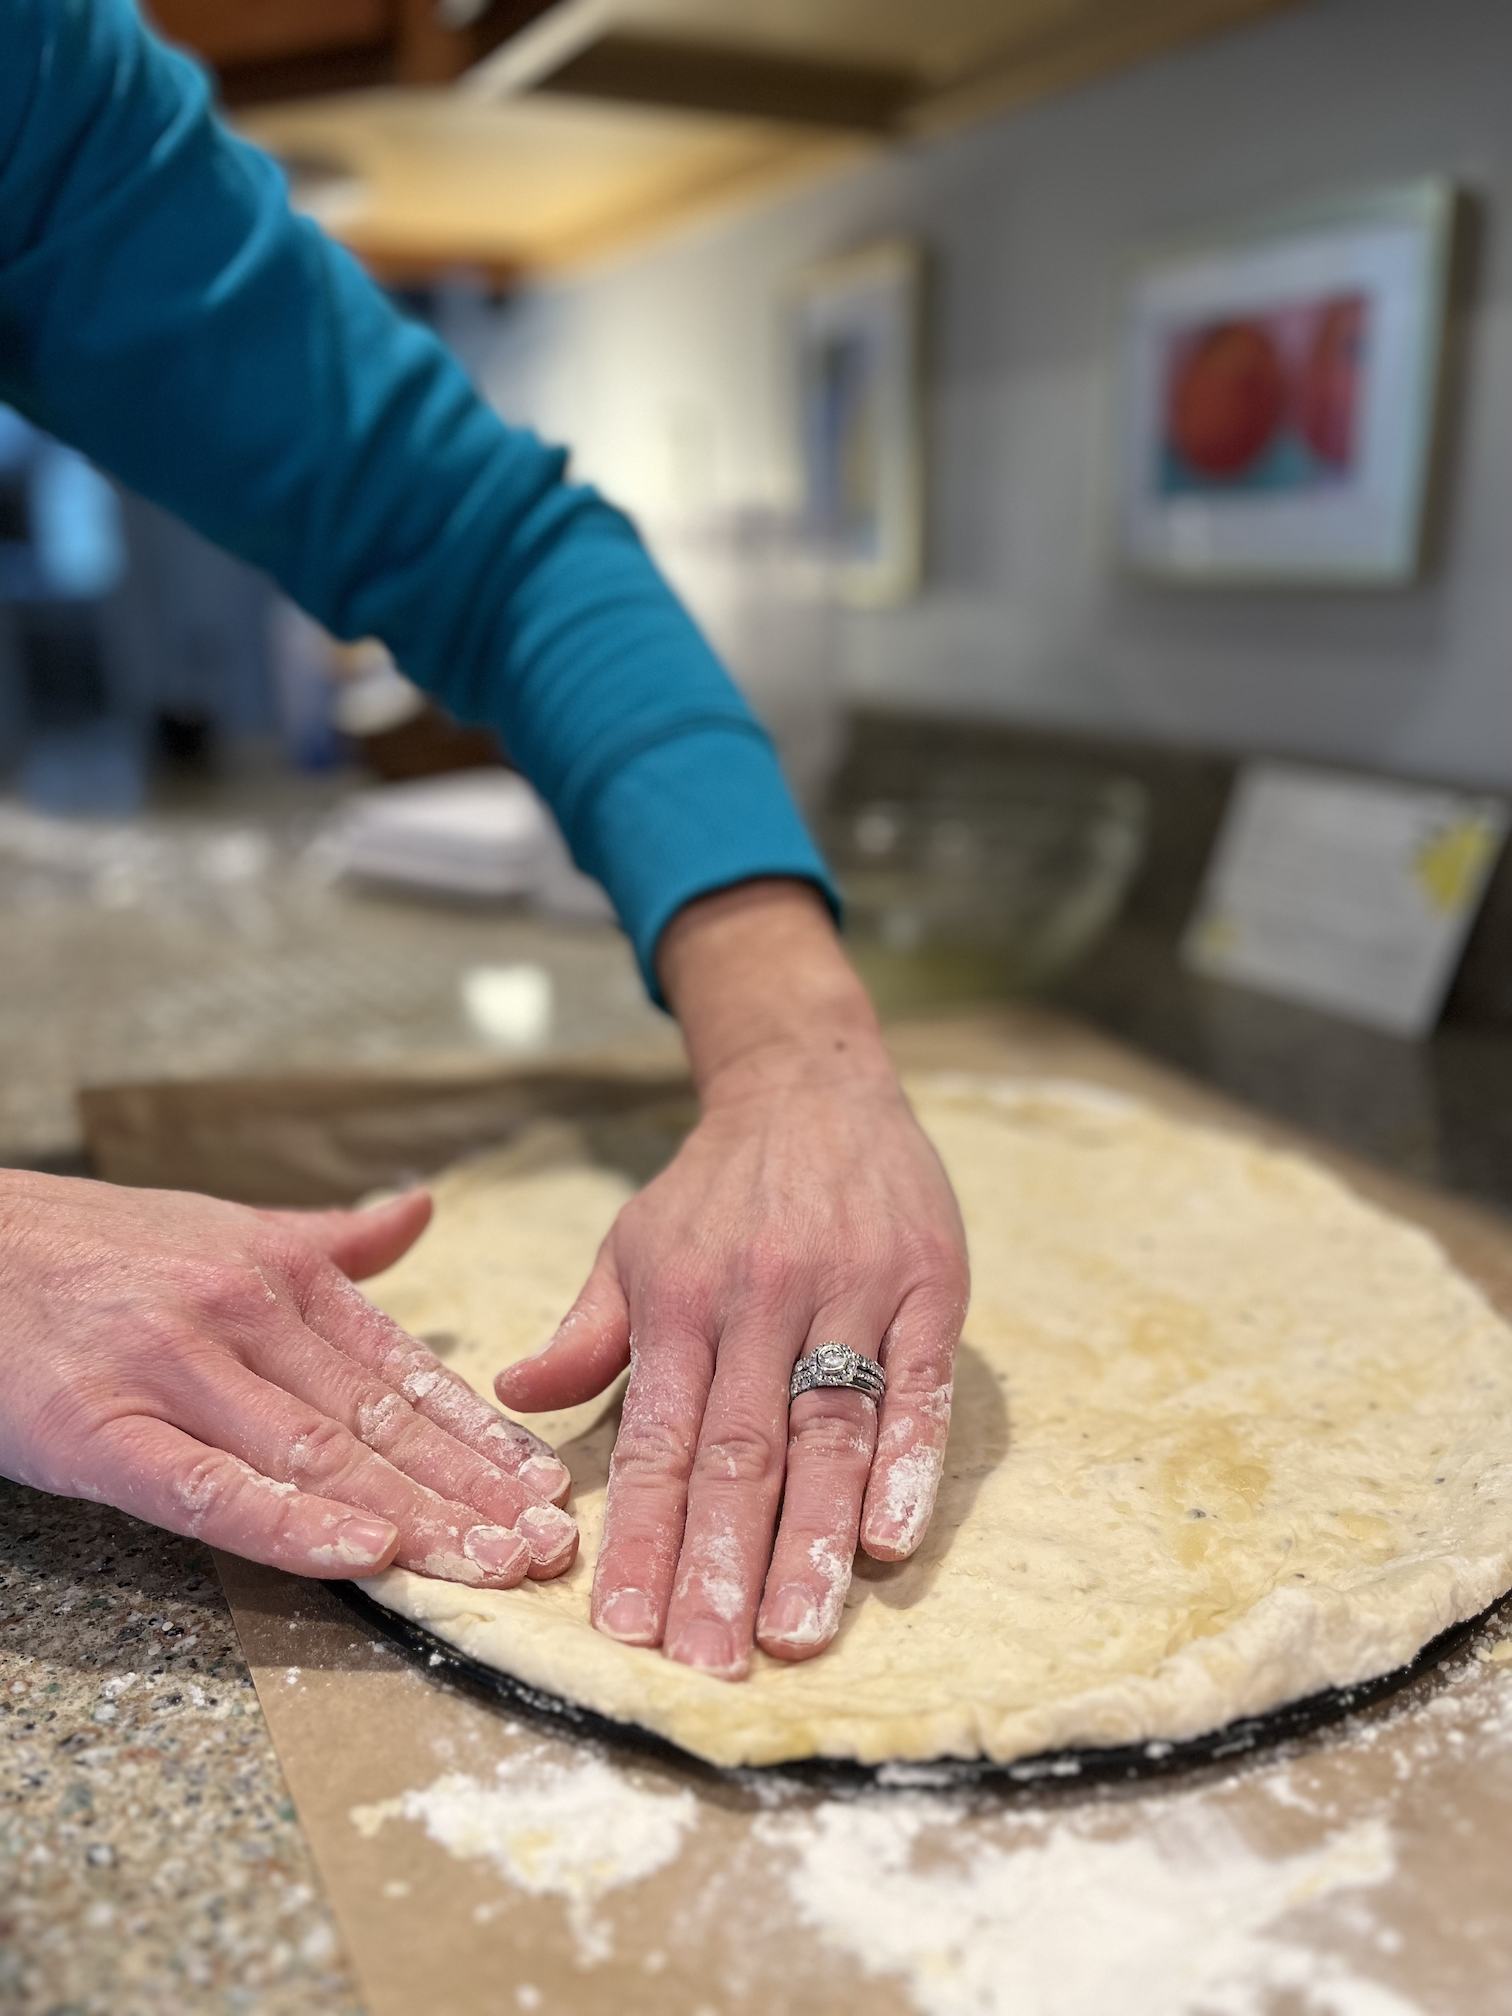
Once ready and carefully transferred to a pizza pan, you'll then want to use your hands to pinch up the edges to create a crust. Then take a fork and poke some holes around the dough. This ensures that when you bake the dough, it won't bubble up and explode.
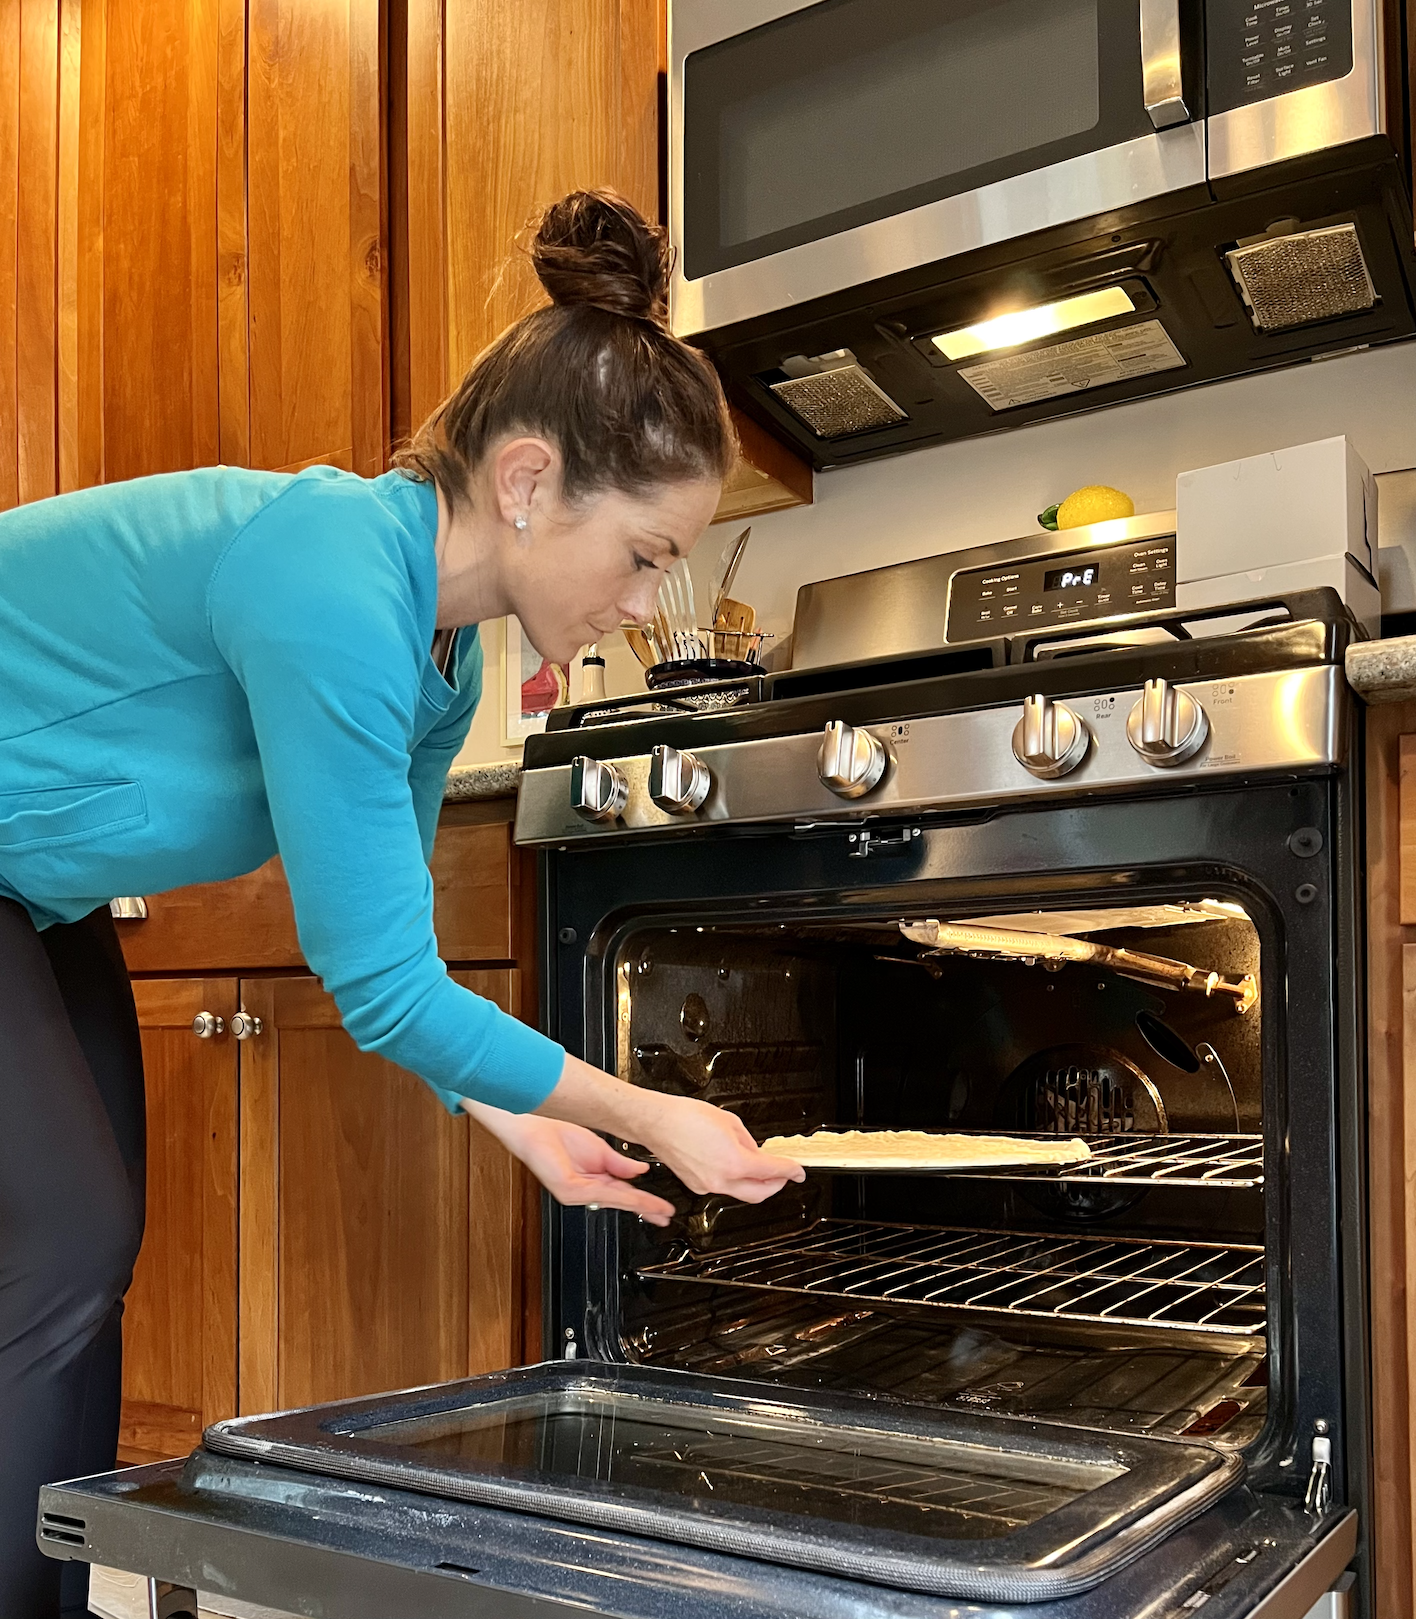
Once you've done that, you'll pop the pizza in the oven to bake at 425 for 8-10 minutes to set.
Step 6: Bake it for another round with a drizzle of olive oil.
After bake number one, it should look something like this:
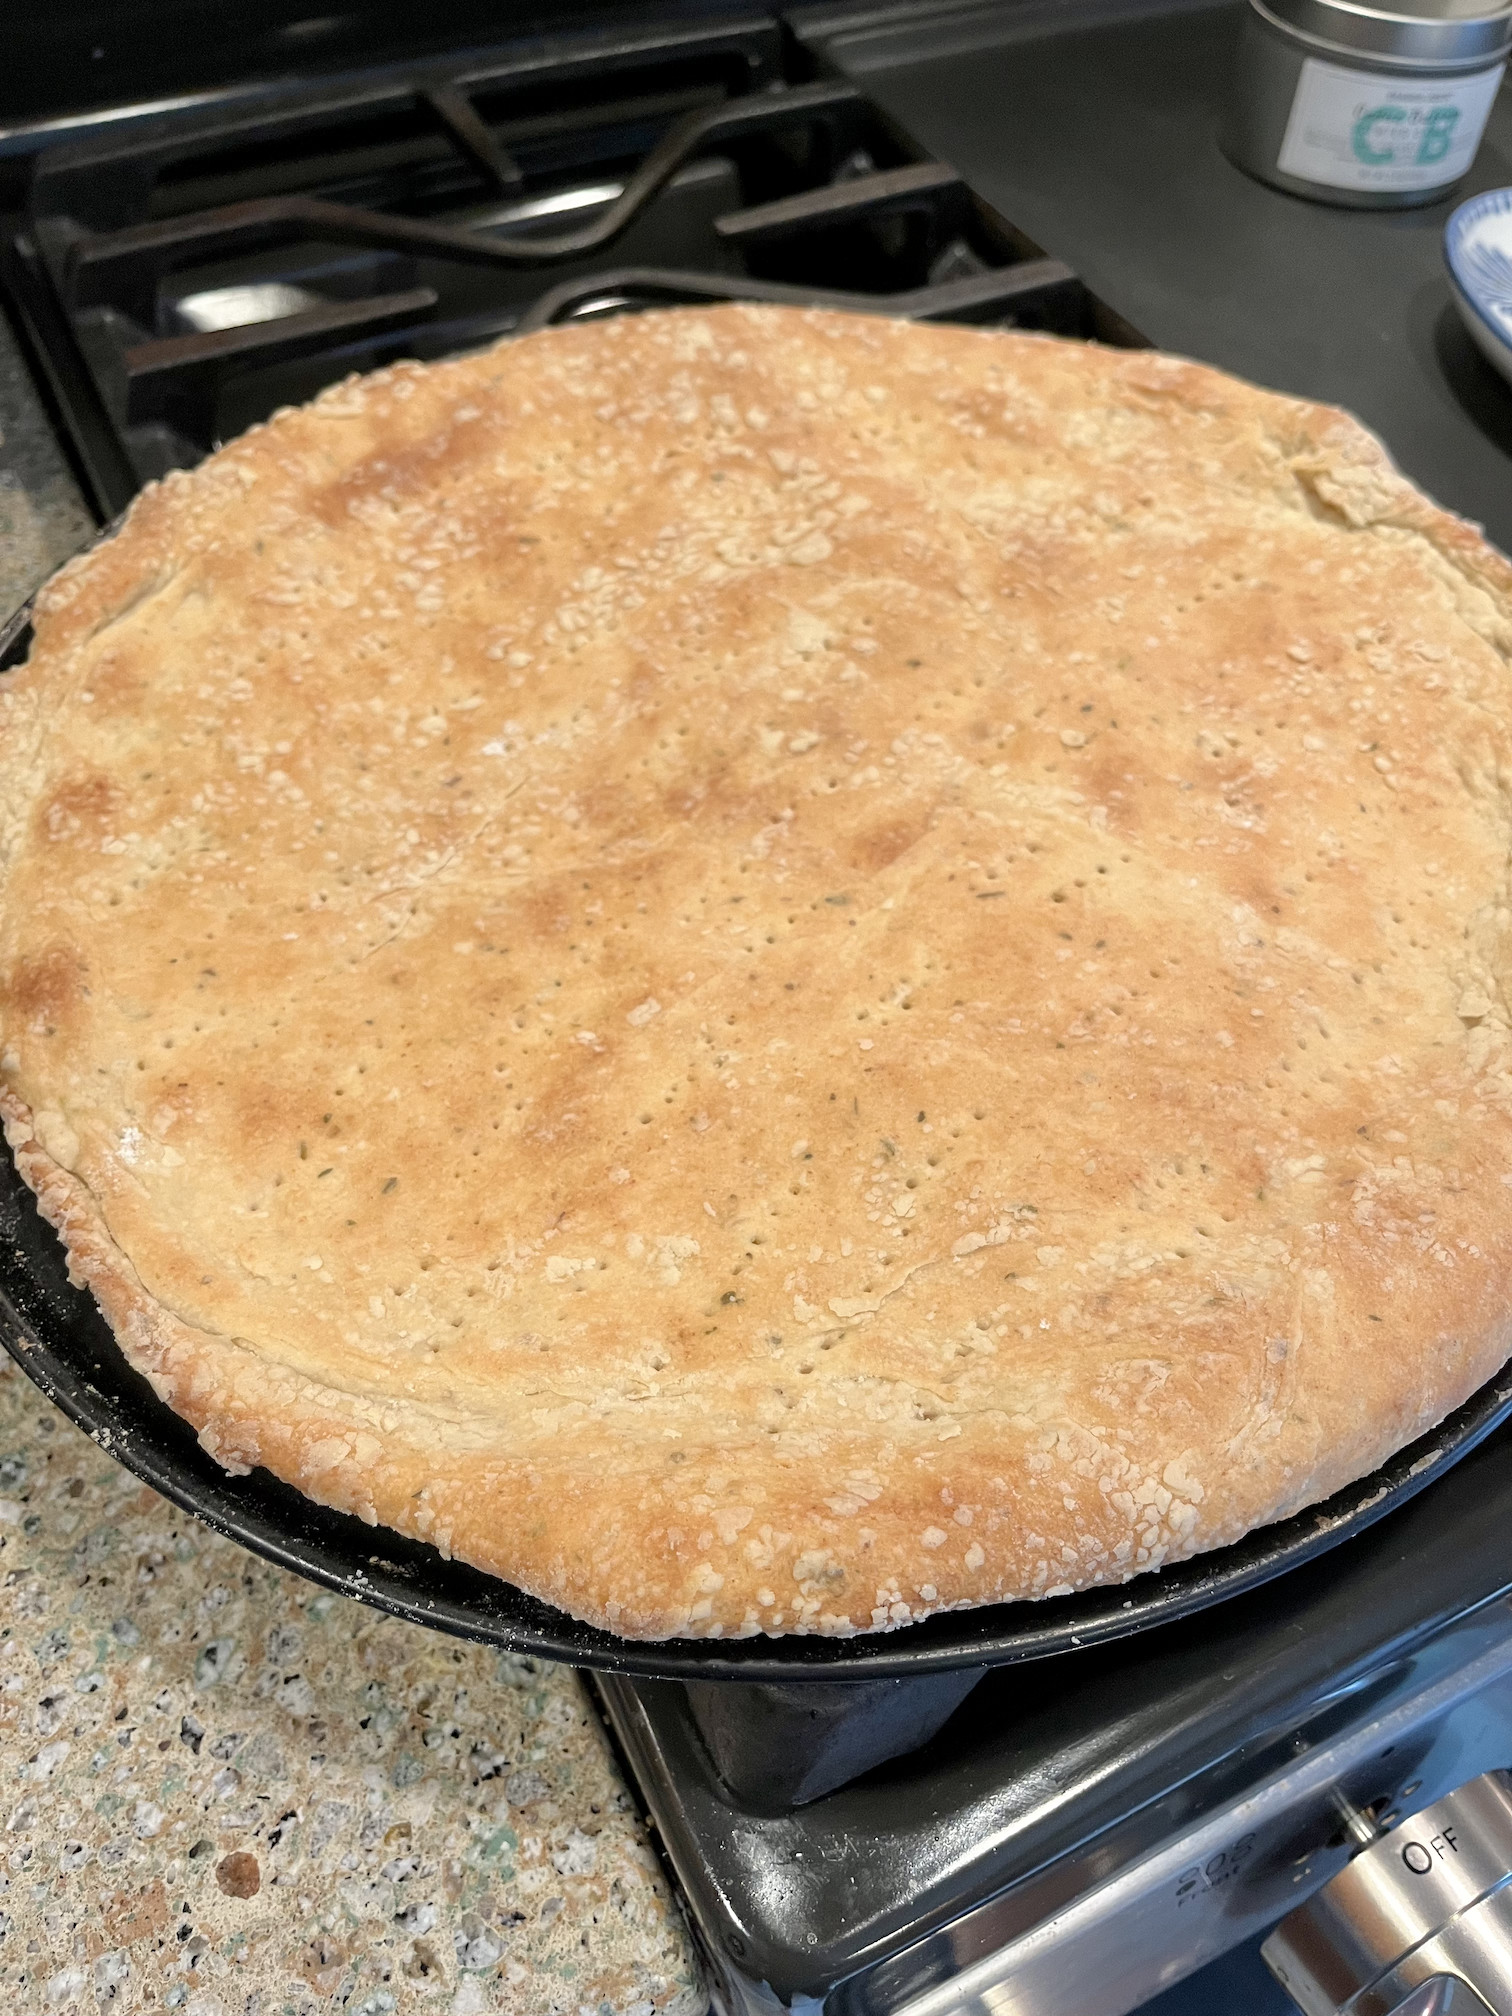
From here, drizzle a small amount of olive oil around the edges on the crust. This gives your crust that perfectly crunchy, browned crust. This is also the point where if you were making a regular pizza with sauce and cheese and whatever else, you would do that now. For this recipe however, nothing that's going on the crust needs to be baked, we just want a nice crispy crust for our cold toppings.
Pop it back in the oven for another 5-8 minutes. It should then look like this:
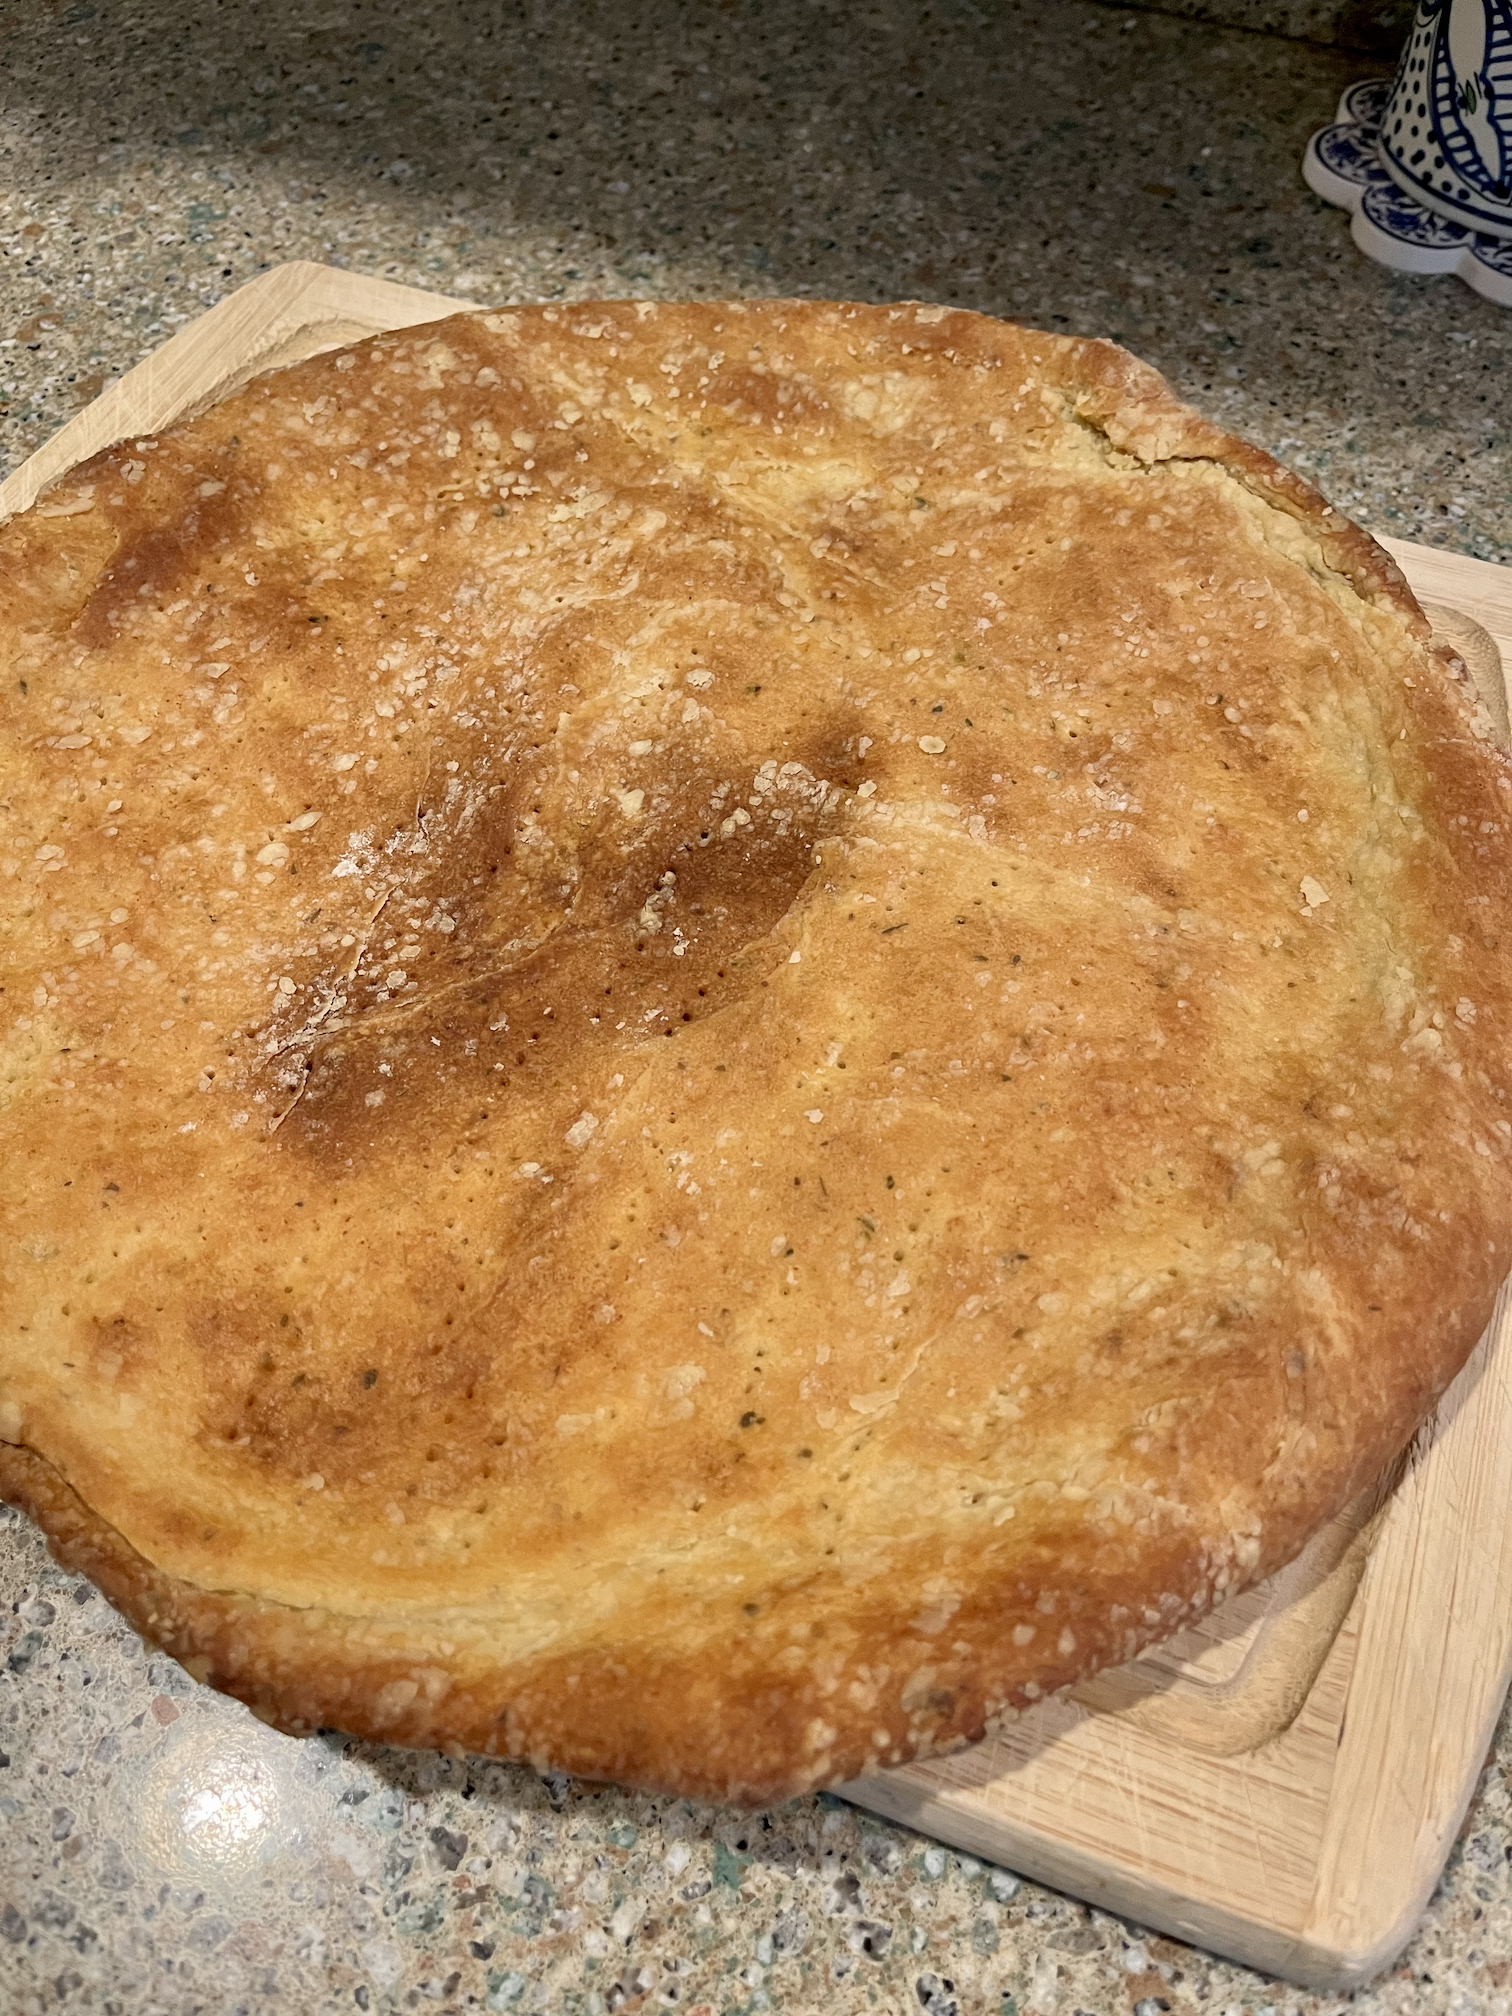
Step 7: Let the crust cool then assemble your toppings.
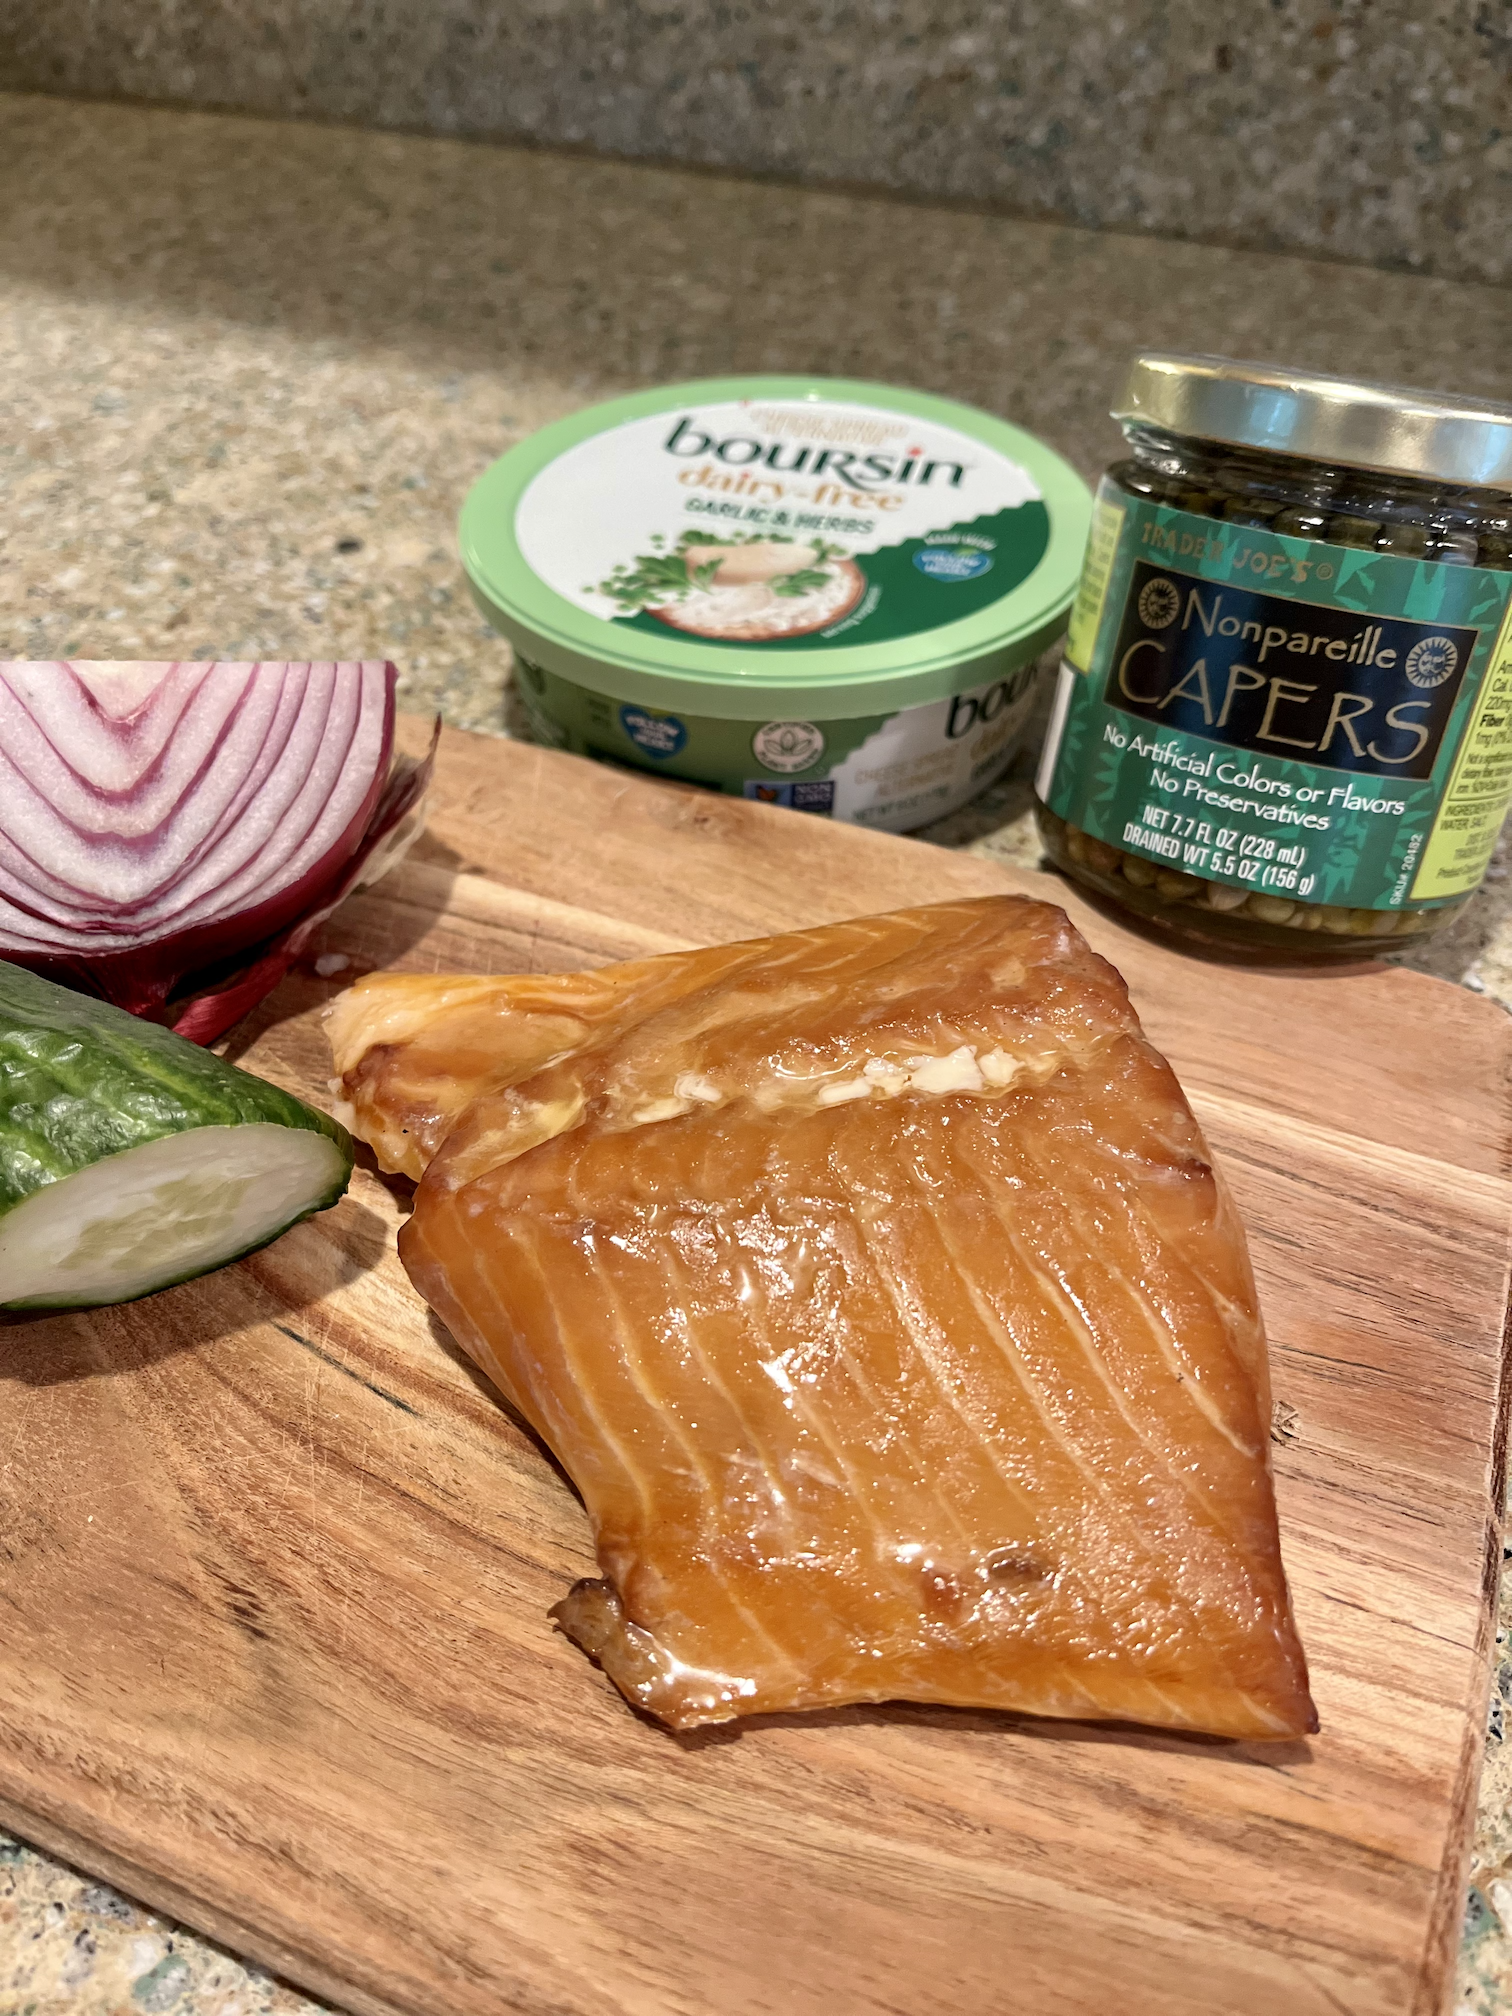
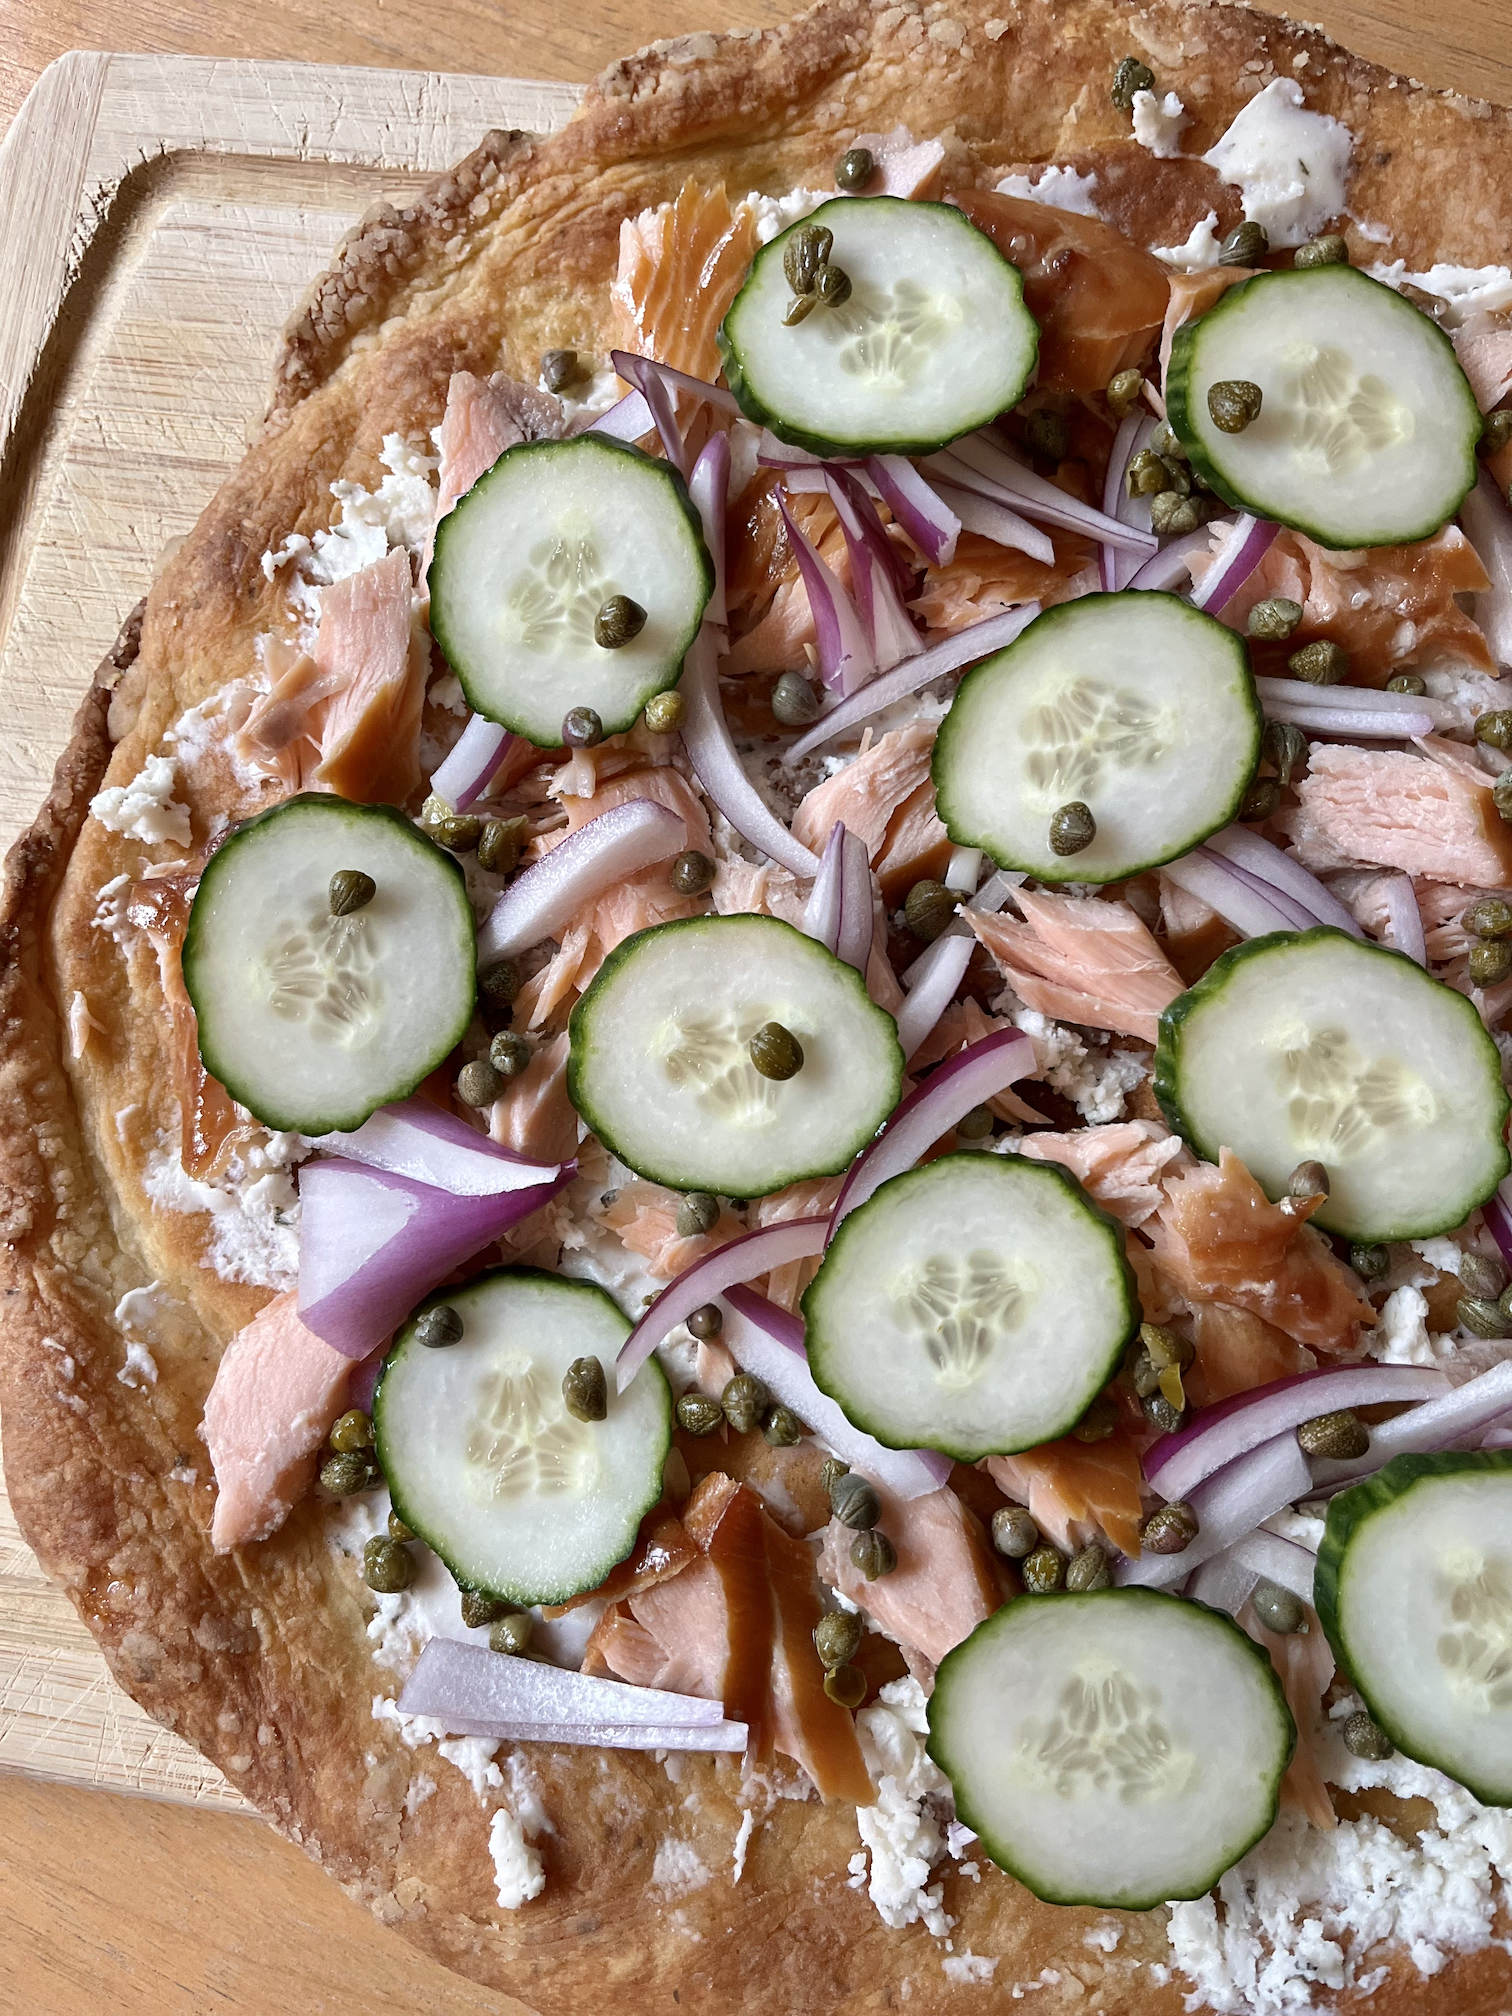
It's up to you how you want to top your Smoked Salmon Pizza, but in my opinion, thin sliced red onion, capers, arugula, sliced cucumbers and some Boursin Garlic & Herb Cheese Spread are the best pairings for smoked fish of any kind.
Making Smoked Salmon Pizza
I serve this cold, which also makes it a great make-ahead meal idea as well, for breakfast, brunch, lunch or dinner. Keep in mind again that smoked trout would also be wonderful on this, or any kind of smoked fish.
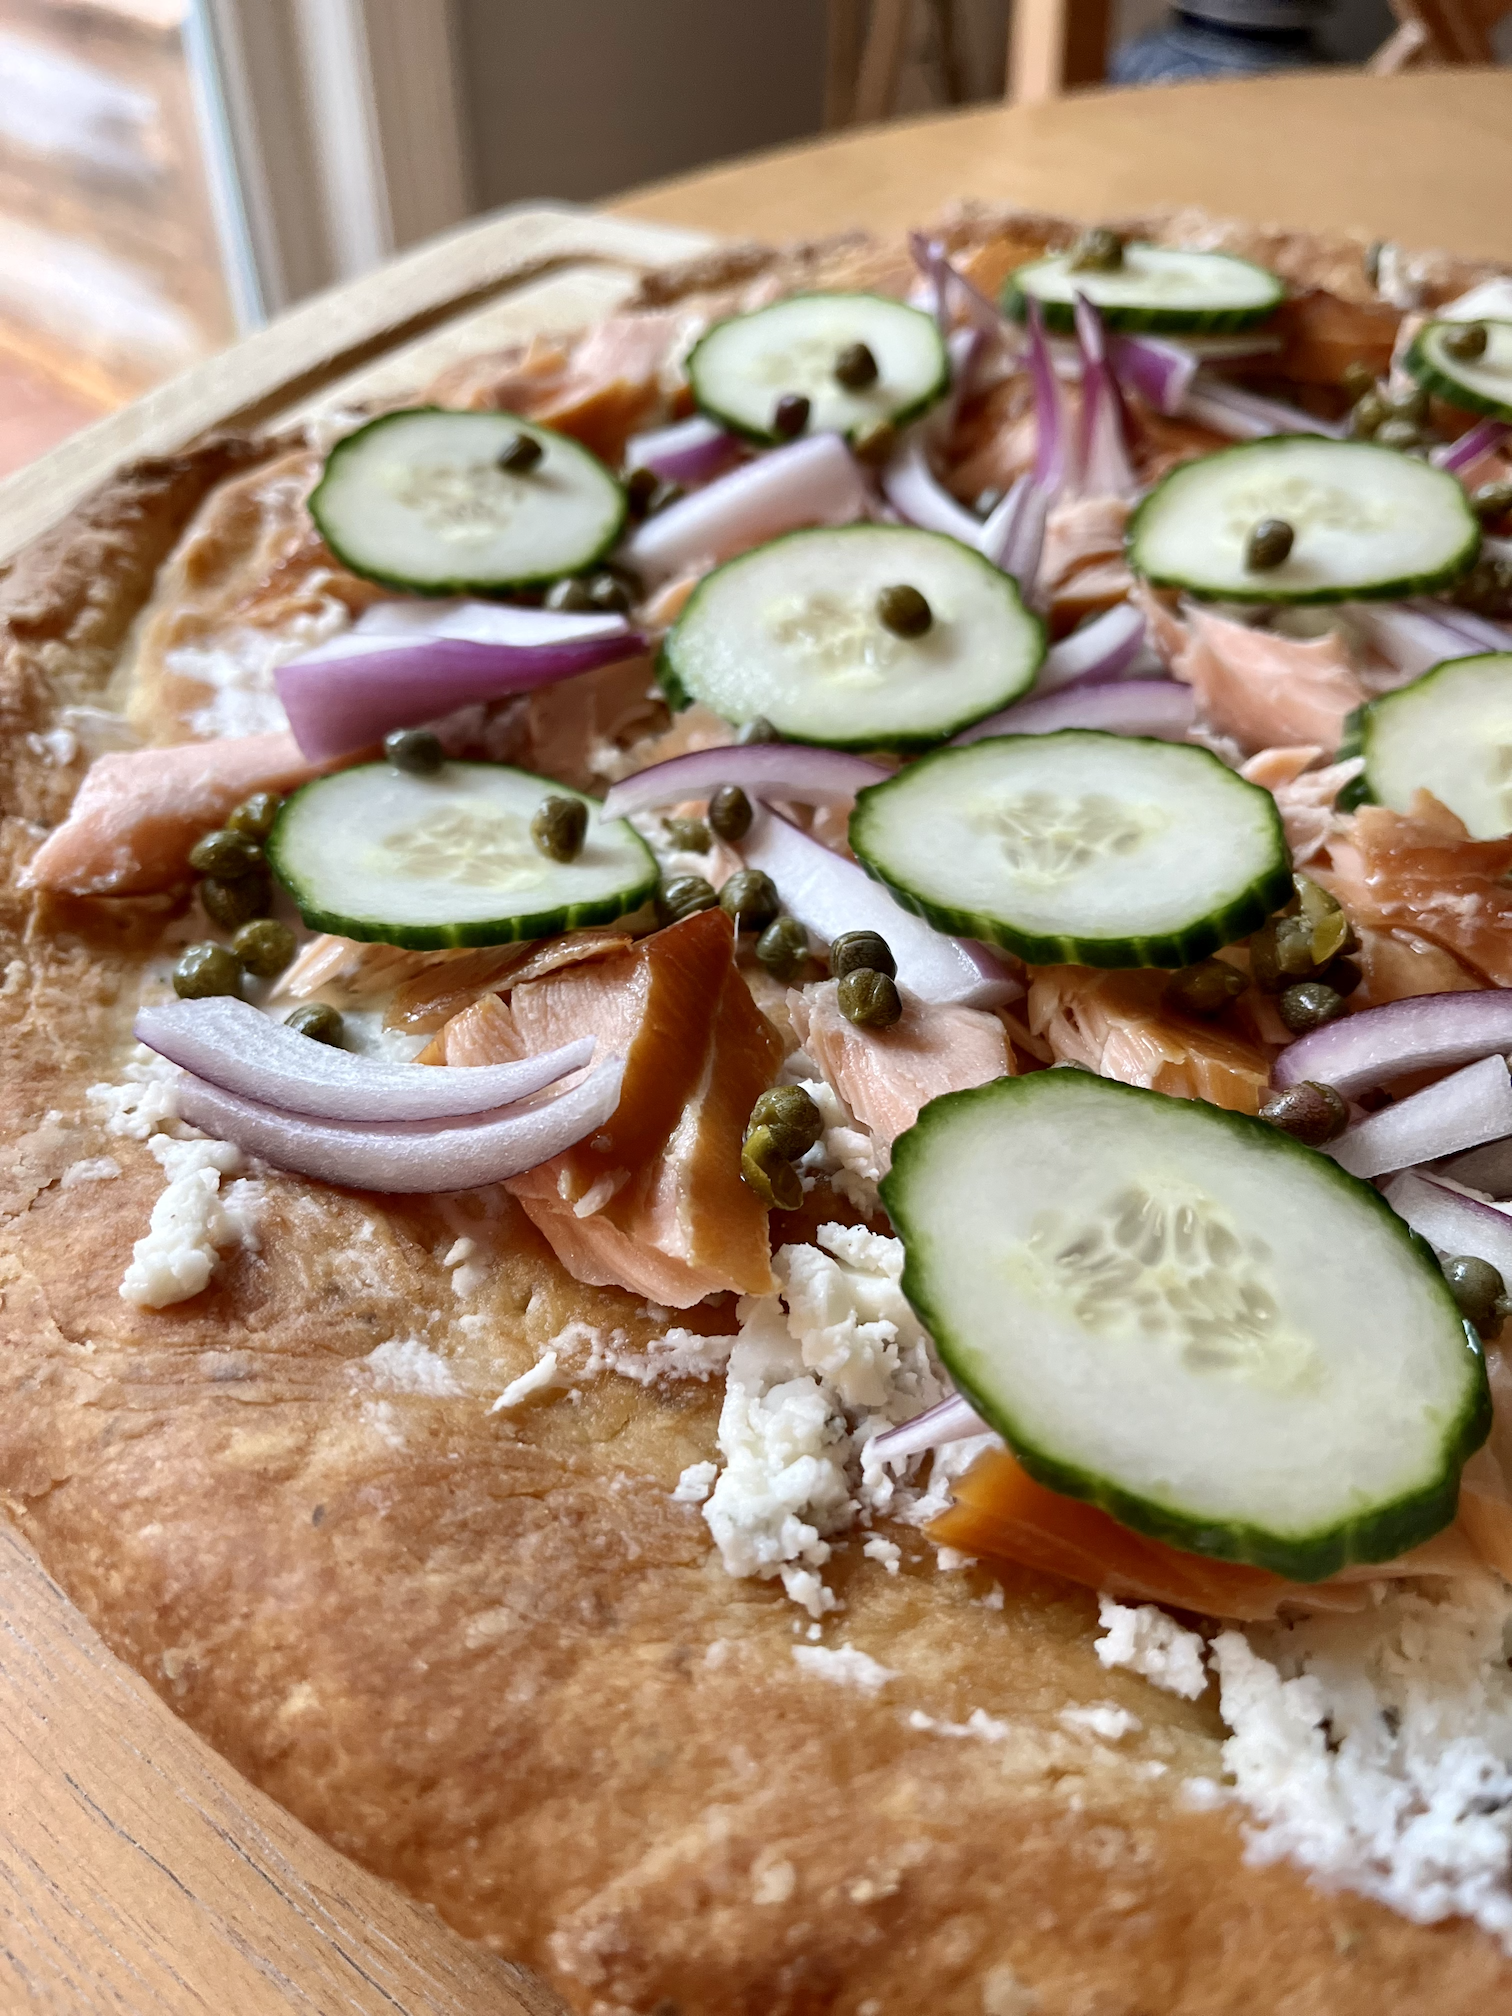
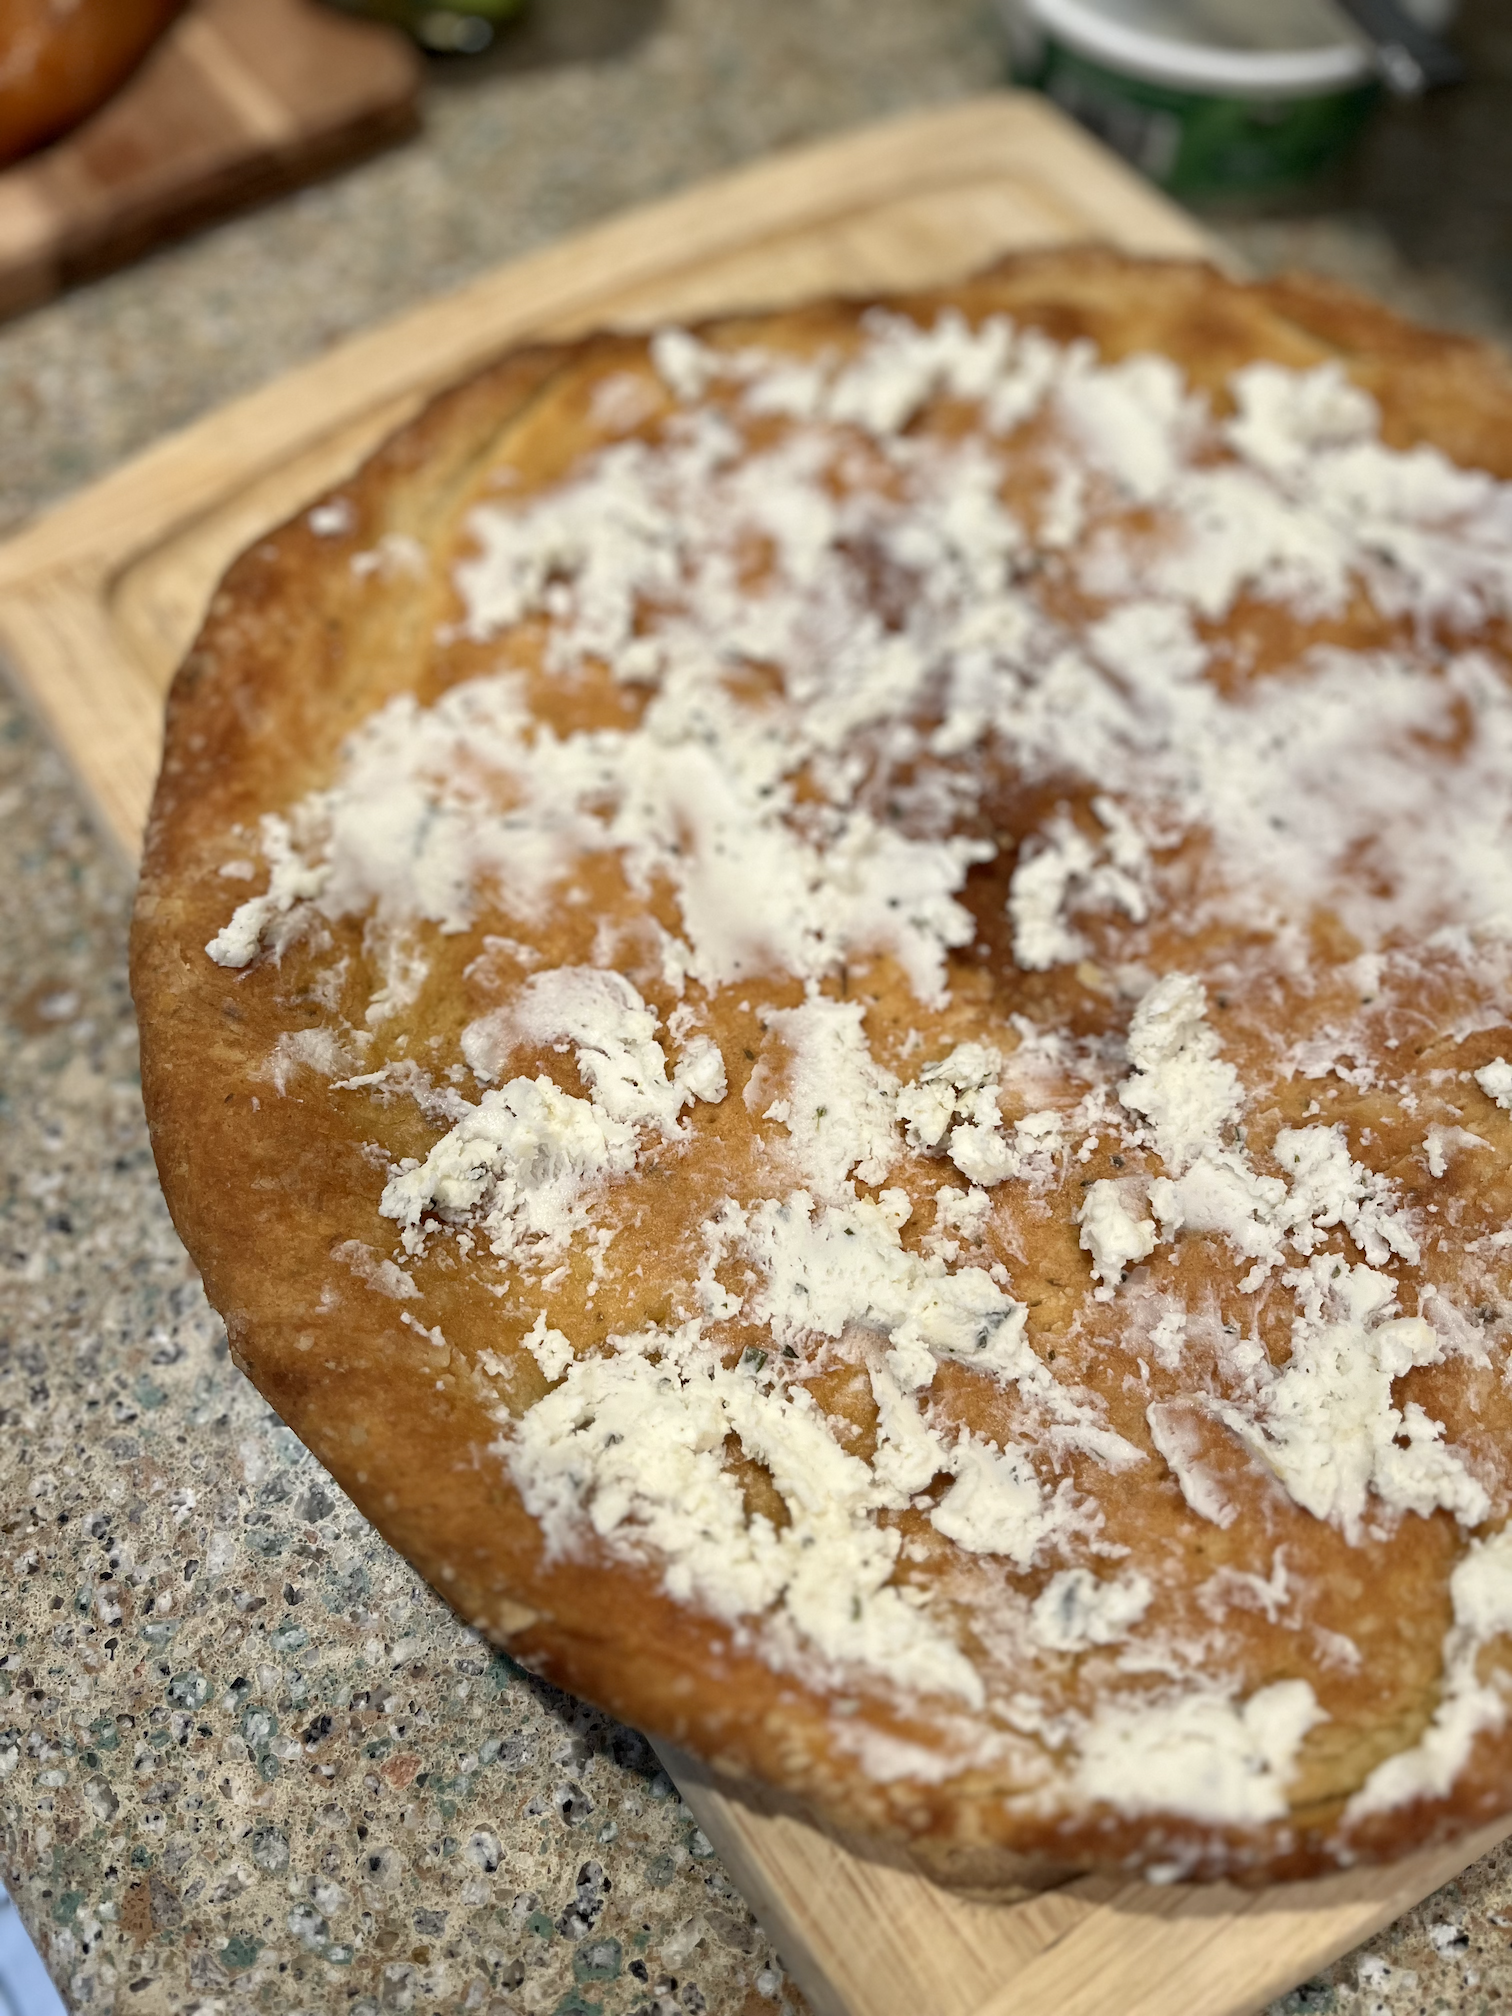
I started with some Boursin Garlic & Herb Cheese Spread, instead of traditional cream cheese, to give it an extra hit of flavor. I don't keep dairy in the house, and thankfully Boursin makes a dairy-free version of their popular cheese spread, but you can use the real deal too.
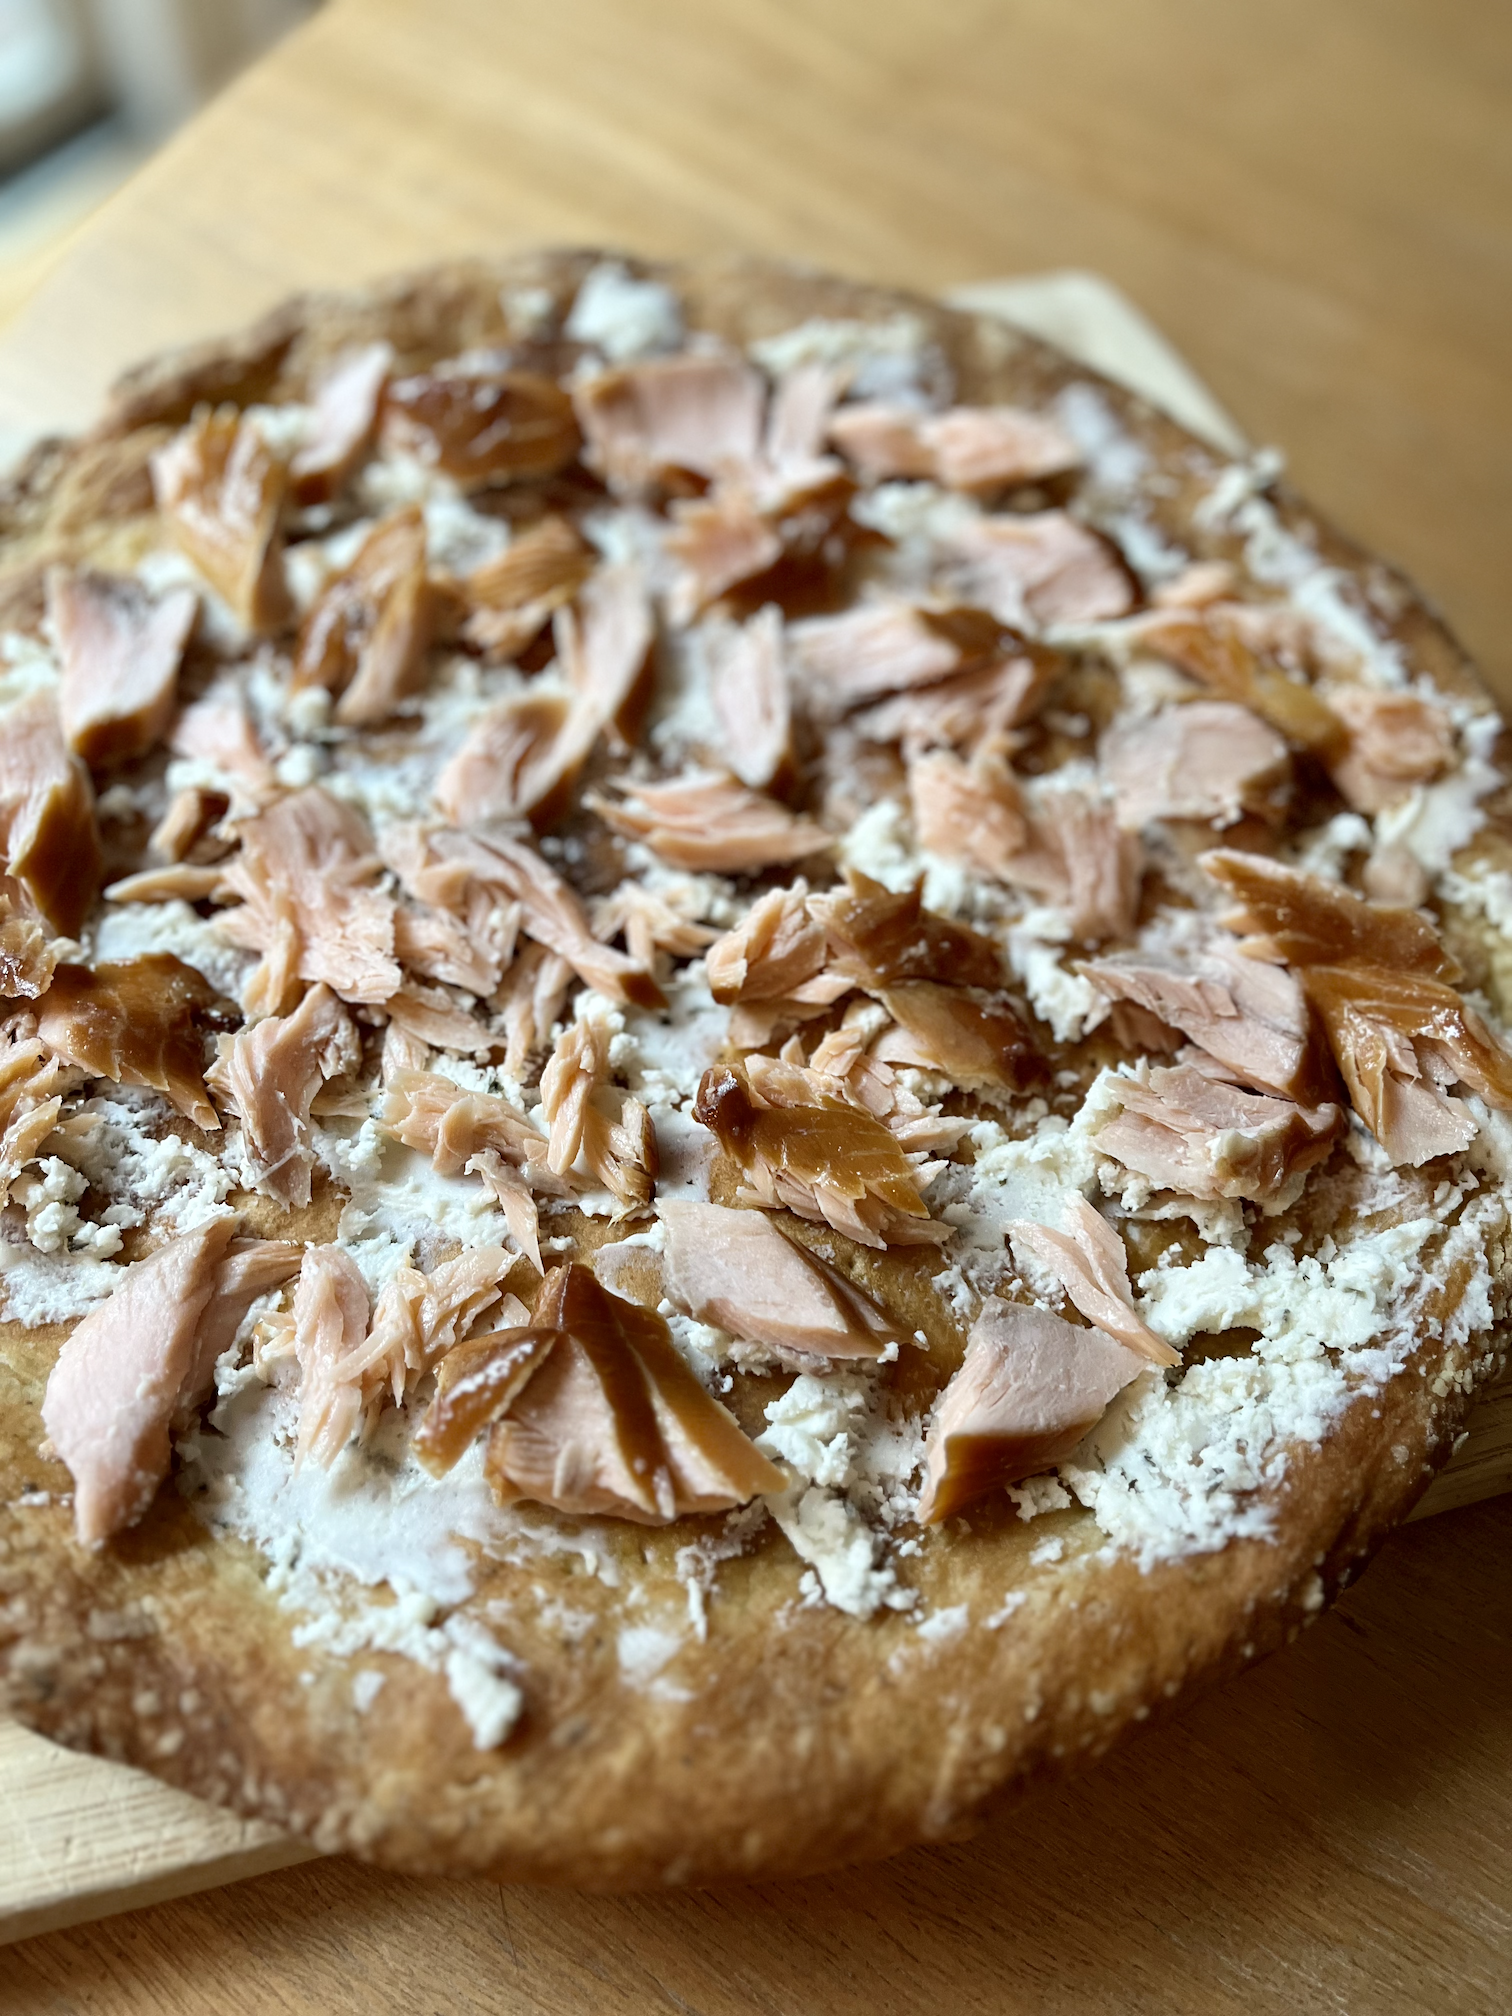
Next you'll want to carefully break apart the smoked salmon. I purchased a filet of hot smoked salmon, which I think is way better than the regular sliced kind, but if you can only find the sliced salmon, that works too.
I then topped it with all my favorites for a typical smoked salmon style meal, with thin sliced red onion, capers and sliced cucumber. On a separate day I also added arugula that gave it a really nice boost of flavor.
Will You Make Smoked Salmon Pizza?
So there you have it! Another creative way to use smoked fish, whether it's with smoked salmon, smoked trout, or any kind of smoked fish.
The pizza dough recipe is super easy and great for everyone to get their hands on, even kids. If you don't want to make your own, look for the best quality pre-made pizza crusts or grab a ball of frozen pizza dough in the freezer section of your grocery store. Homemade is always going to be best though, so I hope you give it a try.

